
If you often find yourself in such situations, I would recommend self-hosting Obsidian. The initial setup can be slightly tricky and time-consuming if you're new to the world of self-hosting. However, once you set it up, the benefits are plenty. For starters, your data remains on-device and is, hence, safe. Moreover, you can access Obsidian using a simple web browser regardless of your location. So, if you need to access your notes and lists remotely, you no longer need to install the app. All you need is a web browser, and you're good to go. Sounds like you would benefit from it? Here's how you can self-host Obsidian to make your life easier.
如果你经常遇到这种情况,我建议自行托管 Obsidian。对于初次接触自托管的新手来说,初始设置可能稍显复杂且耗时。但一旦完成配置,你将获得诸多优势:首先,所有数据都保存在本地设备上,安全性更有保障;更重要的是,无论身处何地,你只需通过普通网页浏览器就能访问 Obsidian。这意味着远程查看笔记和清单时,再也不必安装应用程序——有个浏览器就能轻松搞定。听起来正合你意?下面就来教你如何通过自托管 Obsidian 提升效率。

I found the best self-hosted alternative to Notion and I can’t stop raving about it
Is this the future of Docs?
我找到了 Notion 最佳的自托管替代方案,忍不住要大力推荐它。这会是文档的未来吗?
Setting up Docker to self-host Obsidian
设置 Docker 以自托管 Obsidian
It's a one-time process
这是一次性流程
The best part about self-hosting Obsidian is that you can do it on Docker, thanks to the obsidian-remote container uploaded to GitHub. This makes the process straightforward, even if you've ever self-hosted an app before. Download Docker for your computer -- it's available for Windows, macOS, Linux, and even a Raspberry Pi. So, you could technically host it on a Raspberry Pi so that your main machine doesn't have to bear any extra load.
自托管 Obsidian 最棒的部分在于你可以通过 Docker 实现,这要归功于 GitHub 上的 obsidian-remote 容器。即使你从未自托管过应用程序,这个过程也非常简单。为你的电脑下载 Docker——它支持 Windows、macOS、Linux 甚至树莓派。因此,从技术上讲,你可以在树莓派上托管它,这样你的主机就不必承担任何额外的负载。
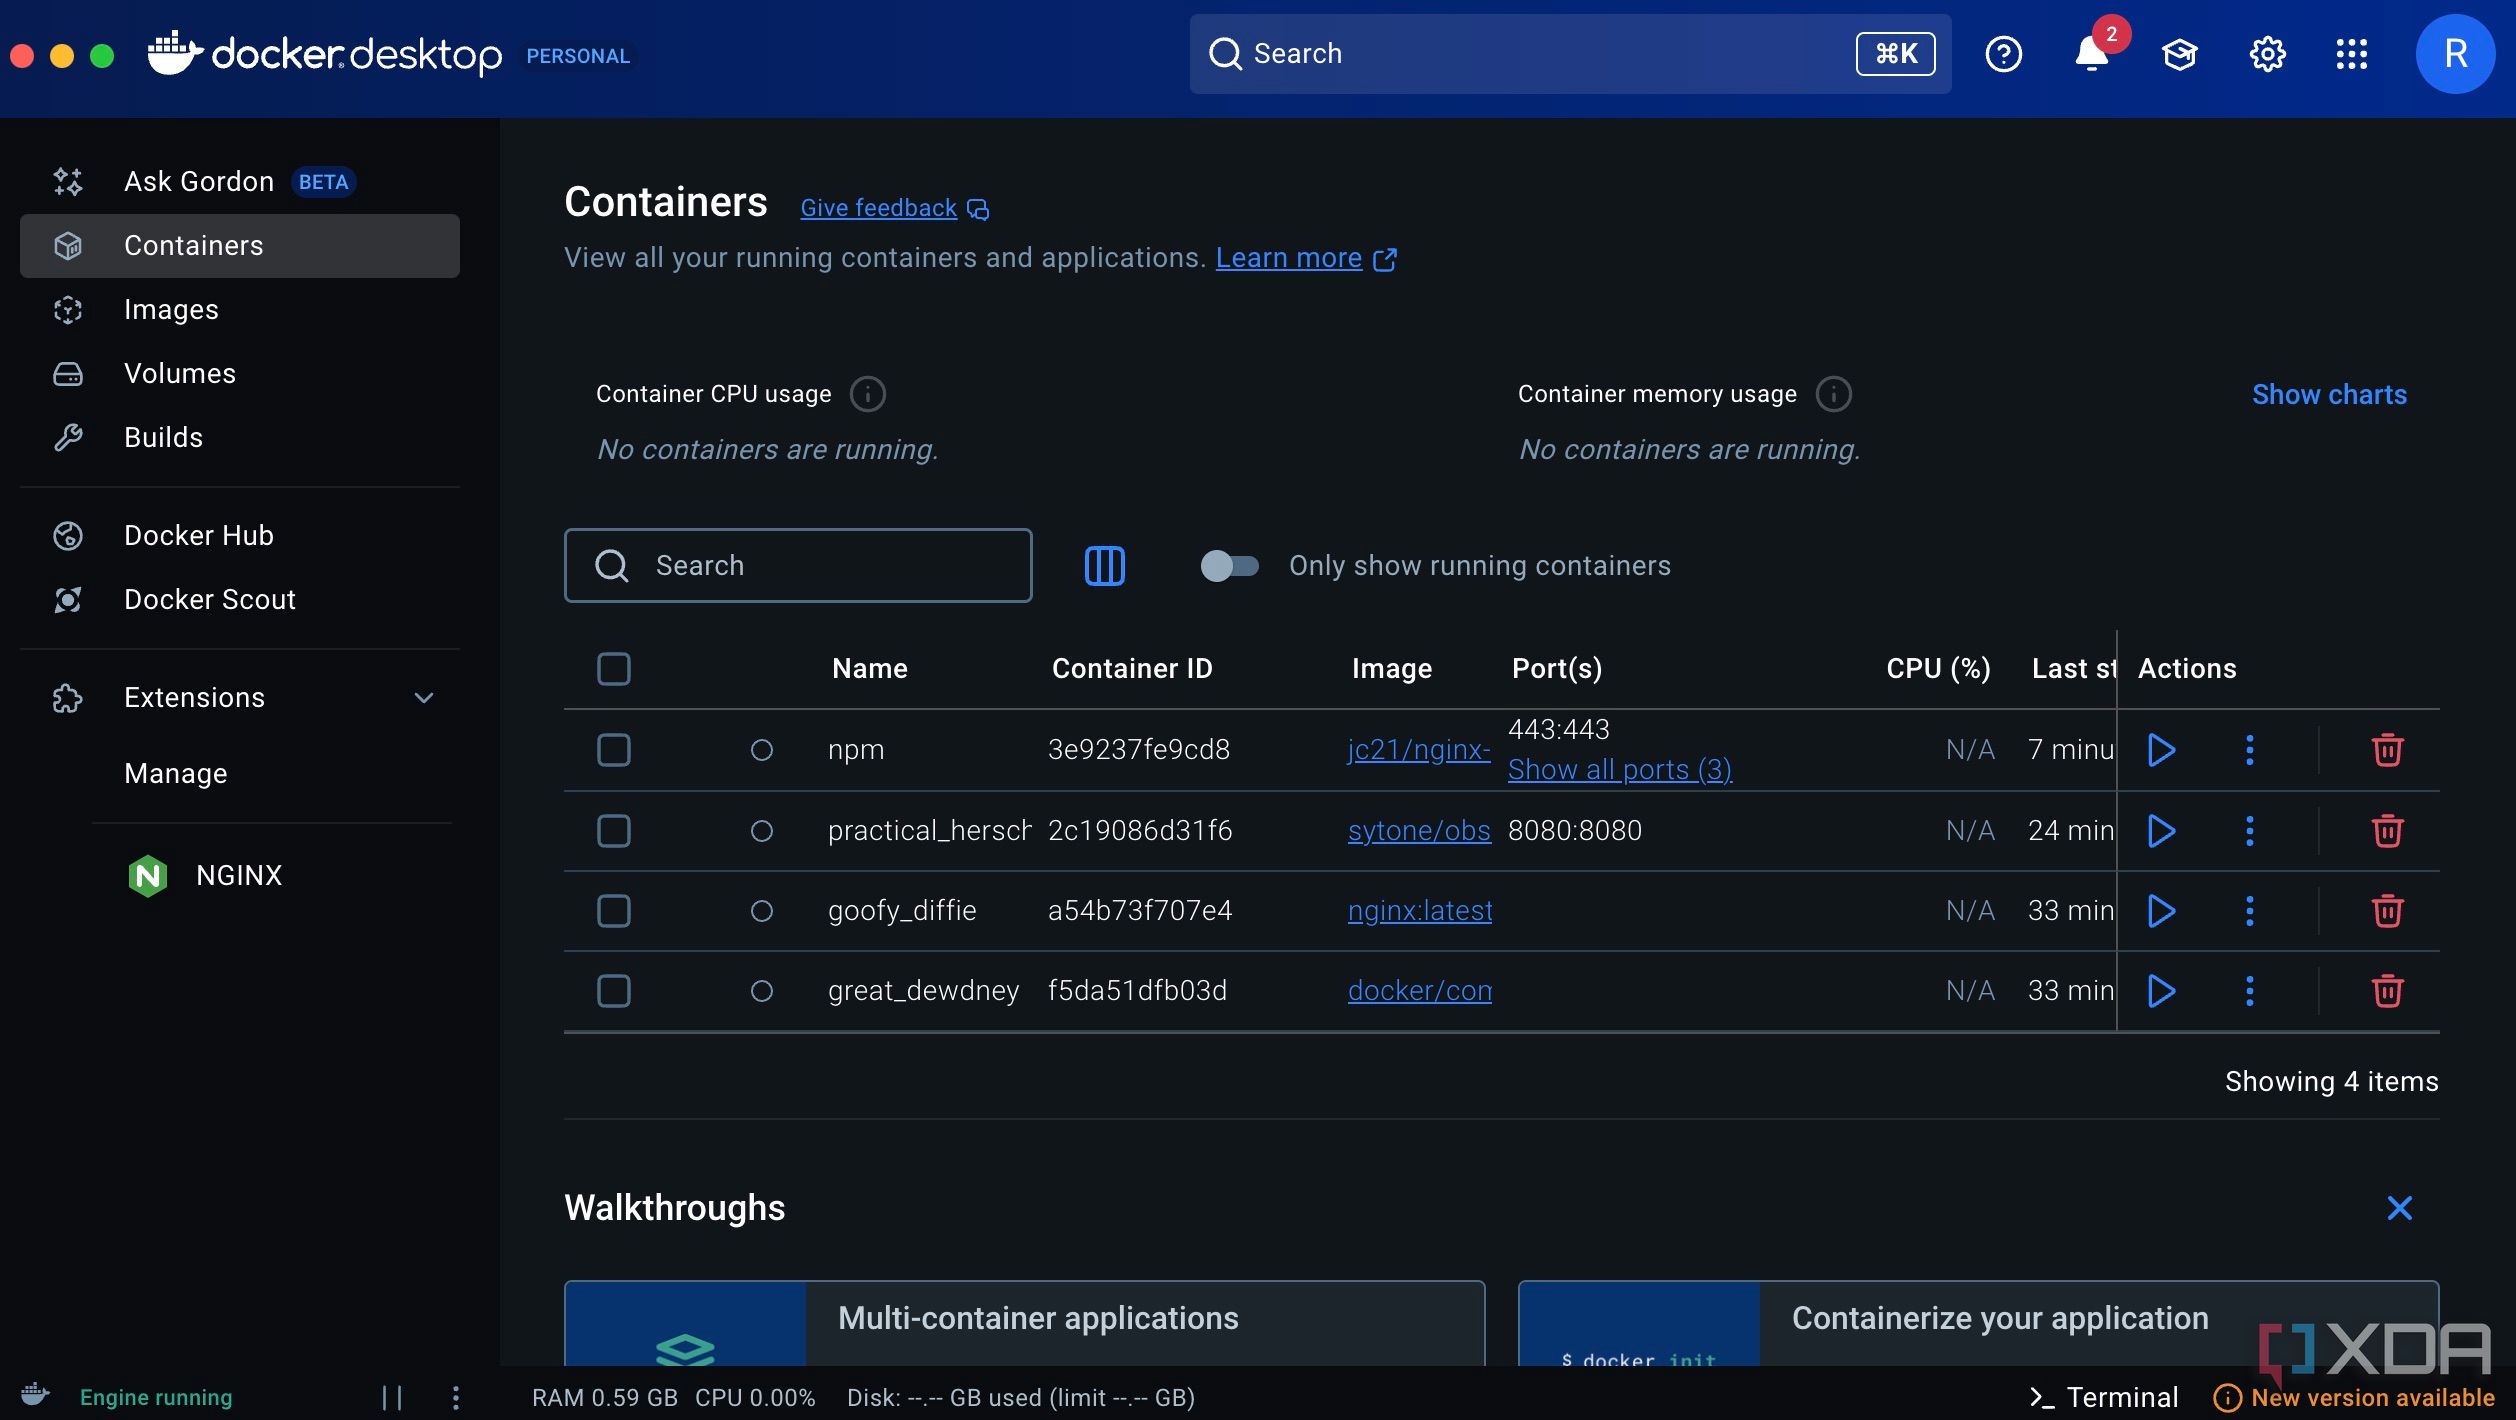
Once you download the app, launch it, and get the Docker Compose and Nginx Proxy Manager containers using the relevant section in the right pane. Then, use the terminal inside Docker to run the following command:
下载应用后启动它,通过右侧面板的相关部分获取 Docker Compose 和 Nginx Proxy Manager 容器。然后,在 Docker 内部终端运行以下命令:
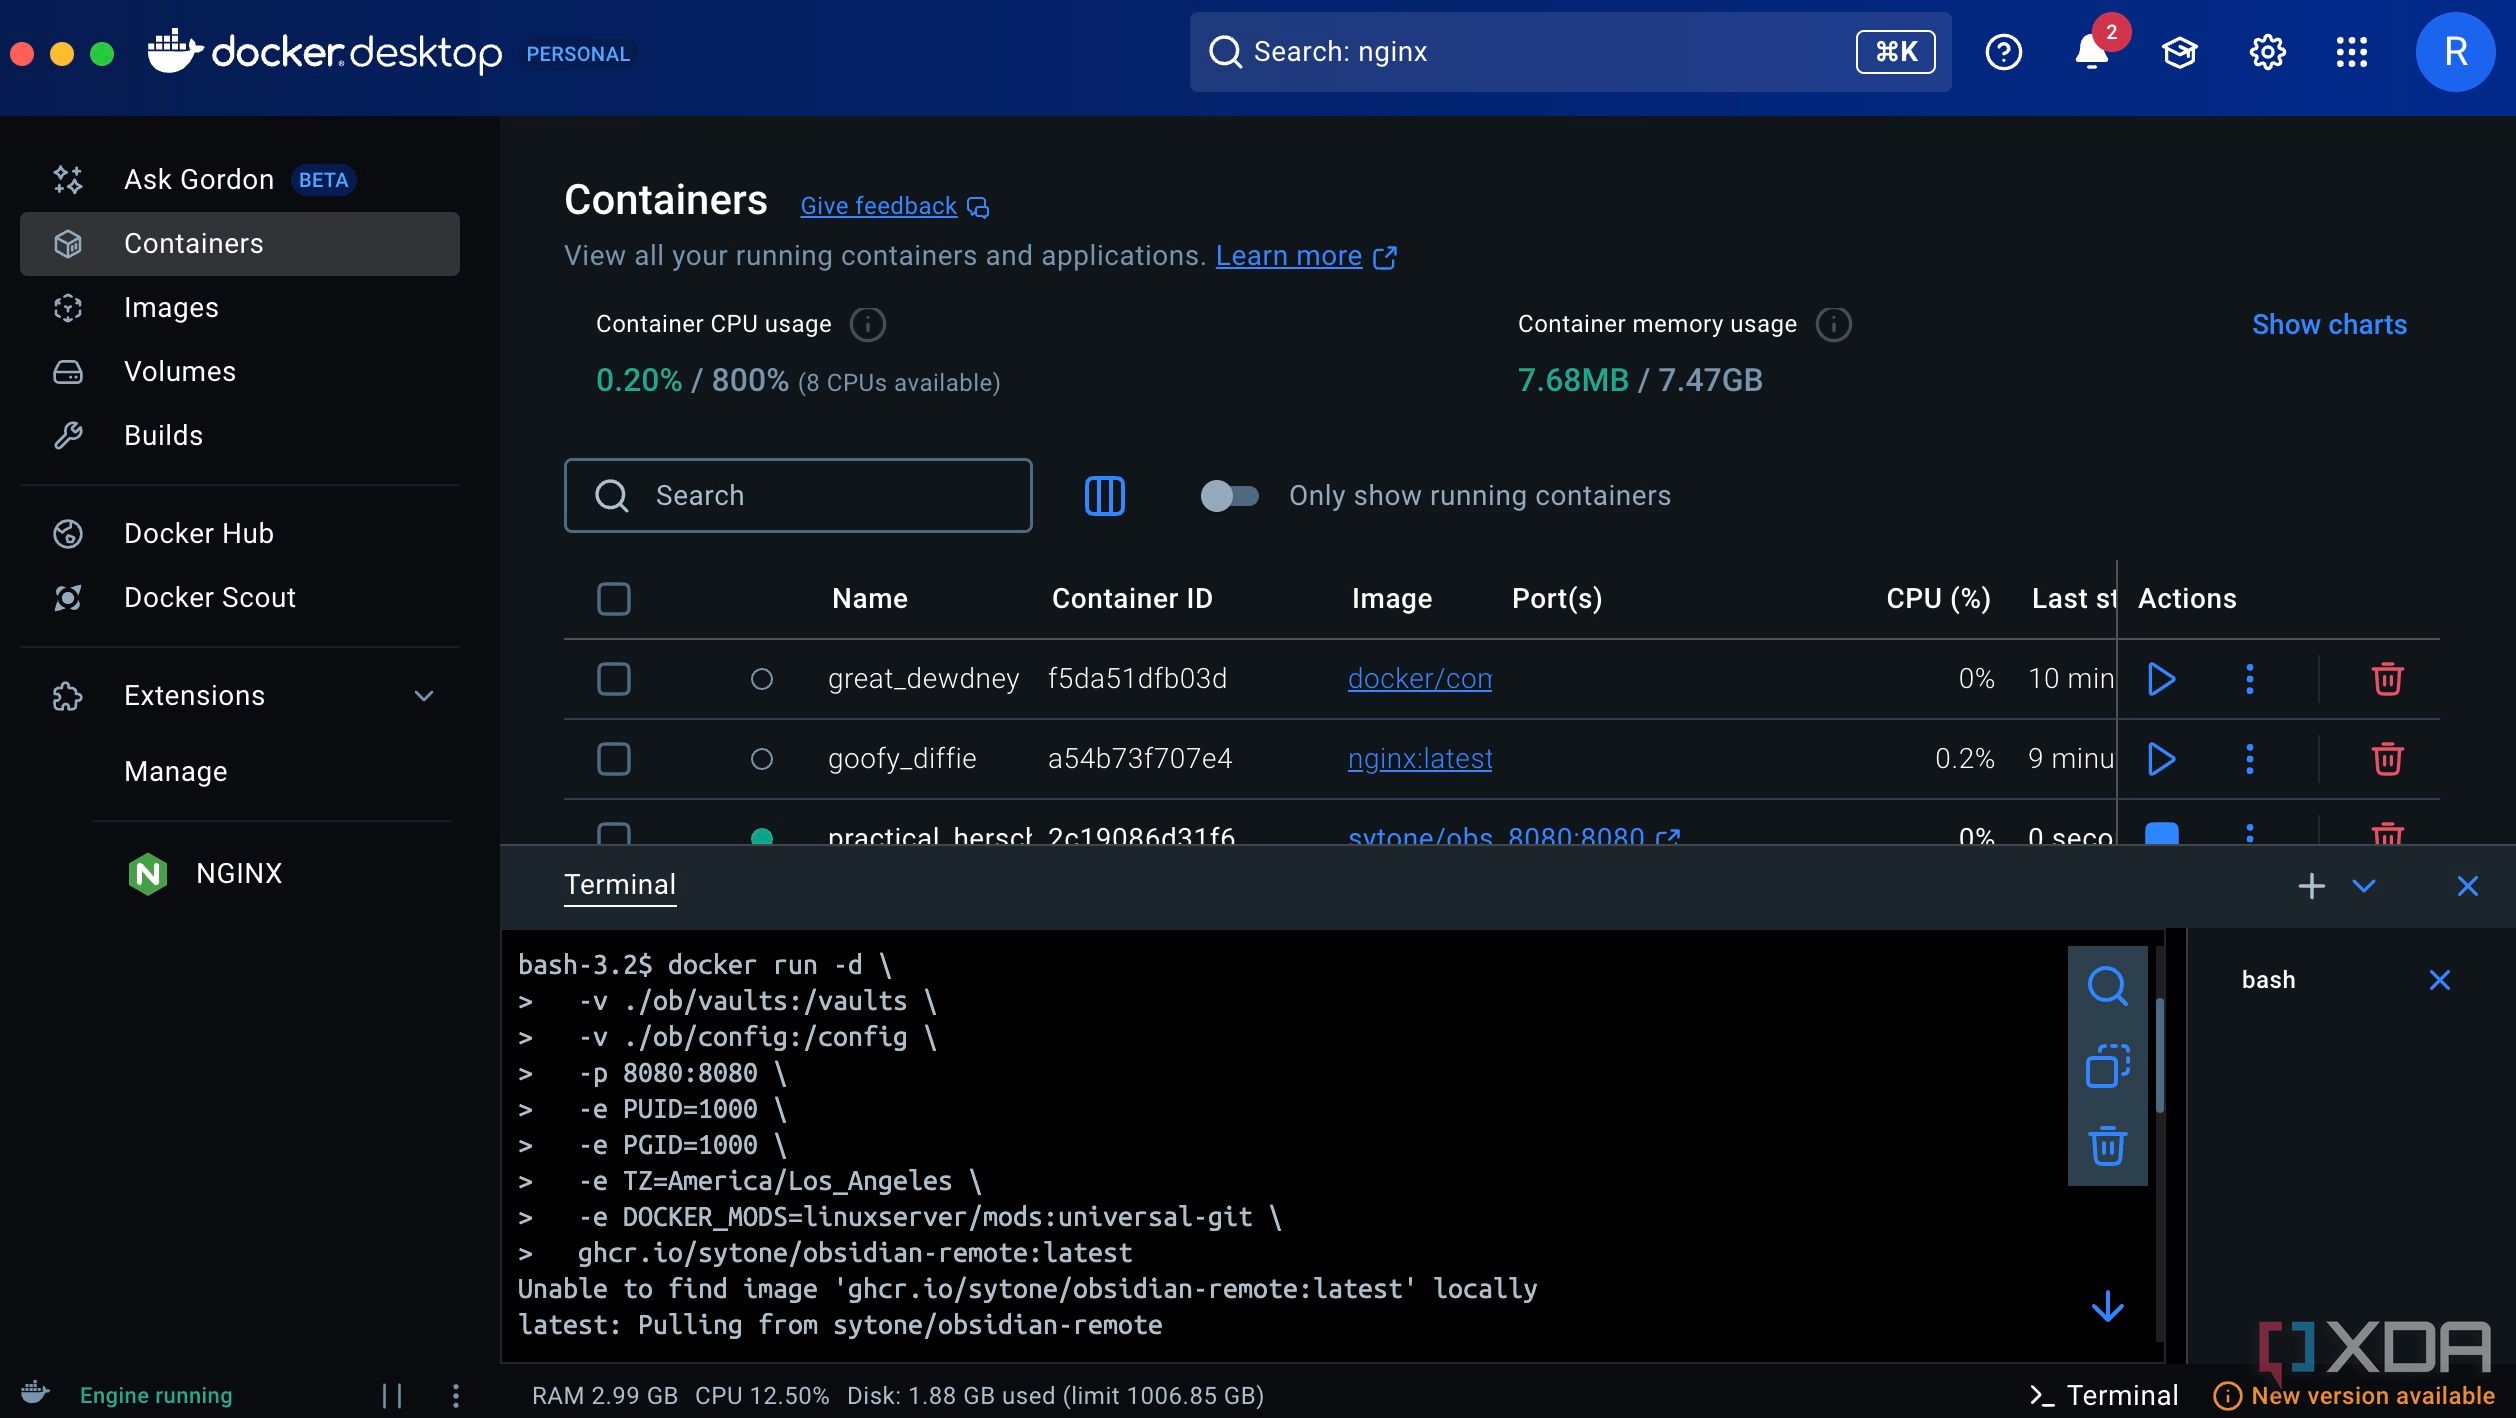
mkdir -p ob/{vaults,config} Then, use the same terminal to execute the following script:
接着,在同一个终端中执行以下脚本:
docker run -d \
 -v ./ob/vaults:/vaults \
 -v ./ob/config:/config \
 -p 8080:8080 \
 -e PUID=1000 \
 -e PGID=1000 \
 -e TZ=America/Los_Angeles \
 -e DOCKER_MODS=linuxserver/mods:universal-git \
 ghcr.io/sytone/obsidian-remote:latest
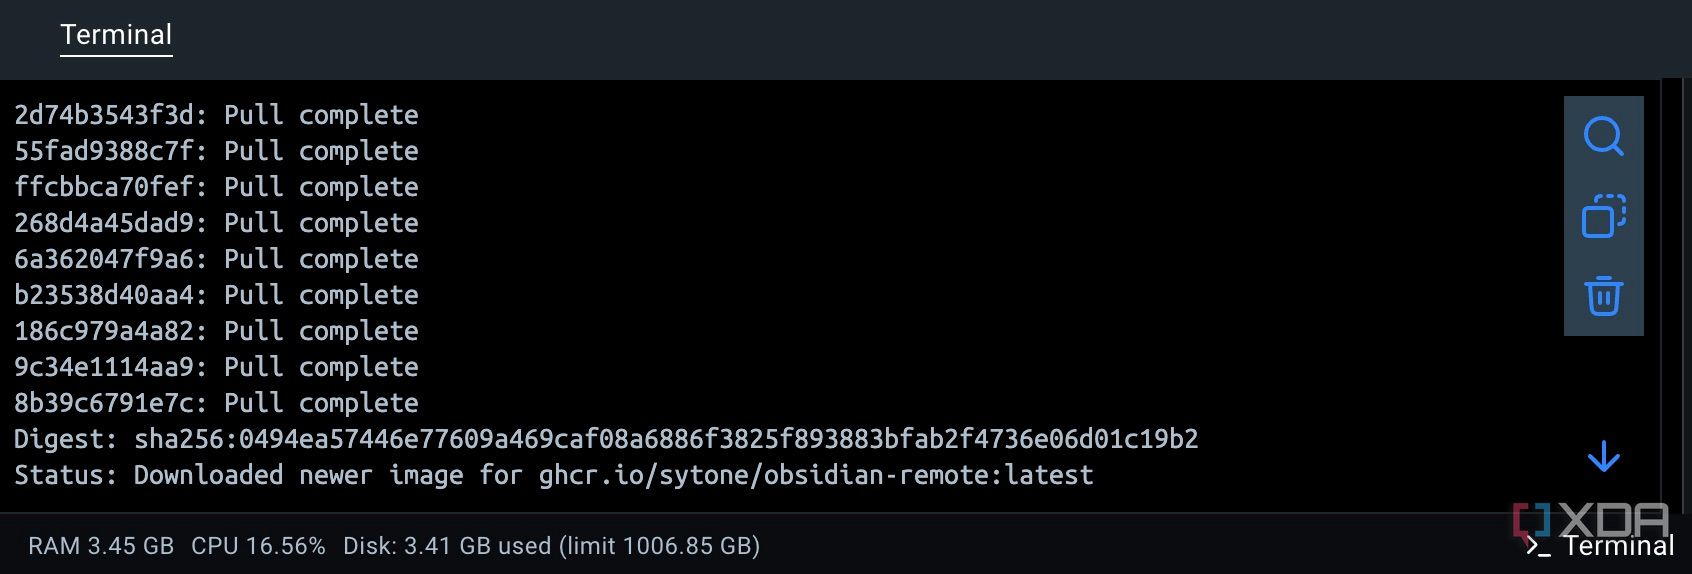
Wait for the script to run. This will run the relevant container and use the latest image from the GitHub repository. Here, you can replace values such as 'TZ' with the required time zone of your choice.
等待脚本运行完毕。这将启动相关容器并使用 GitHub 仓库中的最新镜像。在此处,你可以将'TZ'等值替换为你所需的时区。
Alternatively, you can also use a docker-compose.yml file for a more reusable setup. Here are the contents of the .yml file you need to create:
或者,你也可以使用 docker-compose.yml 文件实现更可复用的配置。以下是需要创建的.yml 文件内容:
version: '3.8'
services:
 obsidian:
 image: 'ghcr.io/sytone/obsidian-remote:latest'
 container_name: obsidian-remote
 restart: unless-stopped
 ports:
 - 8080:8080
 - 8443:8443
 volumes:
 - /home/obsidian/vaults:/vaults
 - /home/obsidian/config:/config
 environment:
 - PUID=1000
 - PGID=1000
 - TZ=America/Los_Angeles
 - DOCKER_MODS=linuxserver/mods:universal-git
 - CUSTOM_PORT=8080
 - CUSTOM_HTTPS_PORT=8443
 - CUSTOM_USER=
 - PASSWORD=
 - SUBFOLDER=
Save the file as per the name suggested above, and then run the following command:
按照上述建议的文件名保存文件,然后运行以下命令:
docker-compose up -d
Now, you have everything ready to run Docker inside your web browser.
现在,你已准备好一切在网页浏览器中运行 Docker。
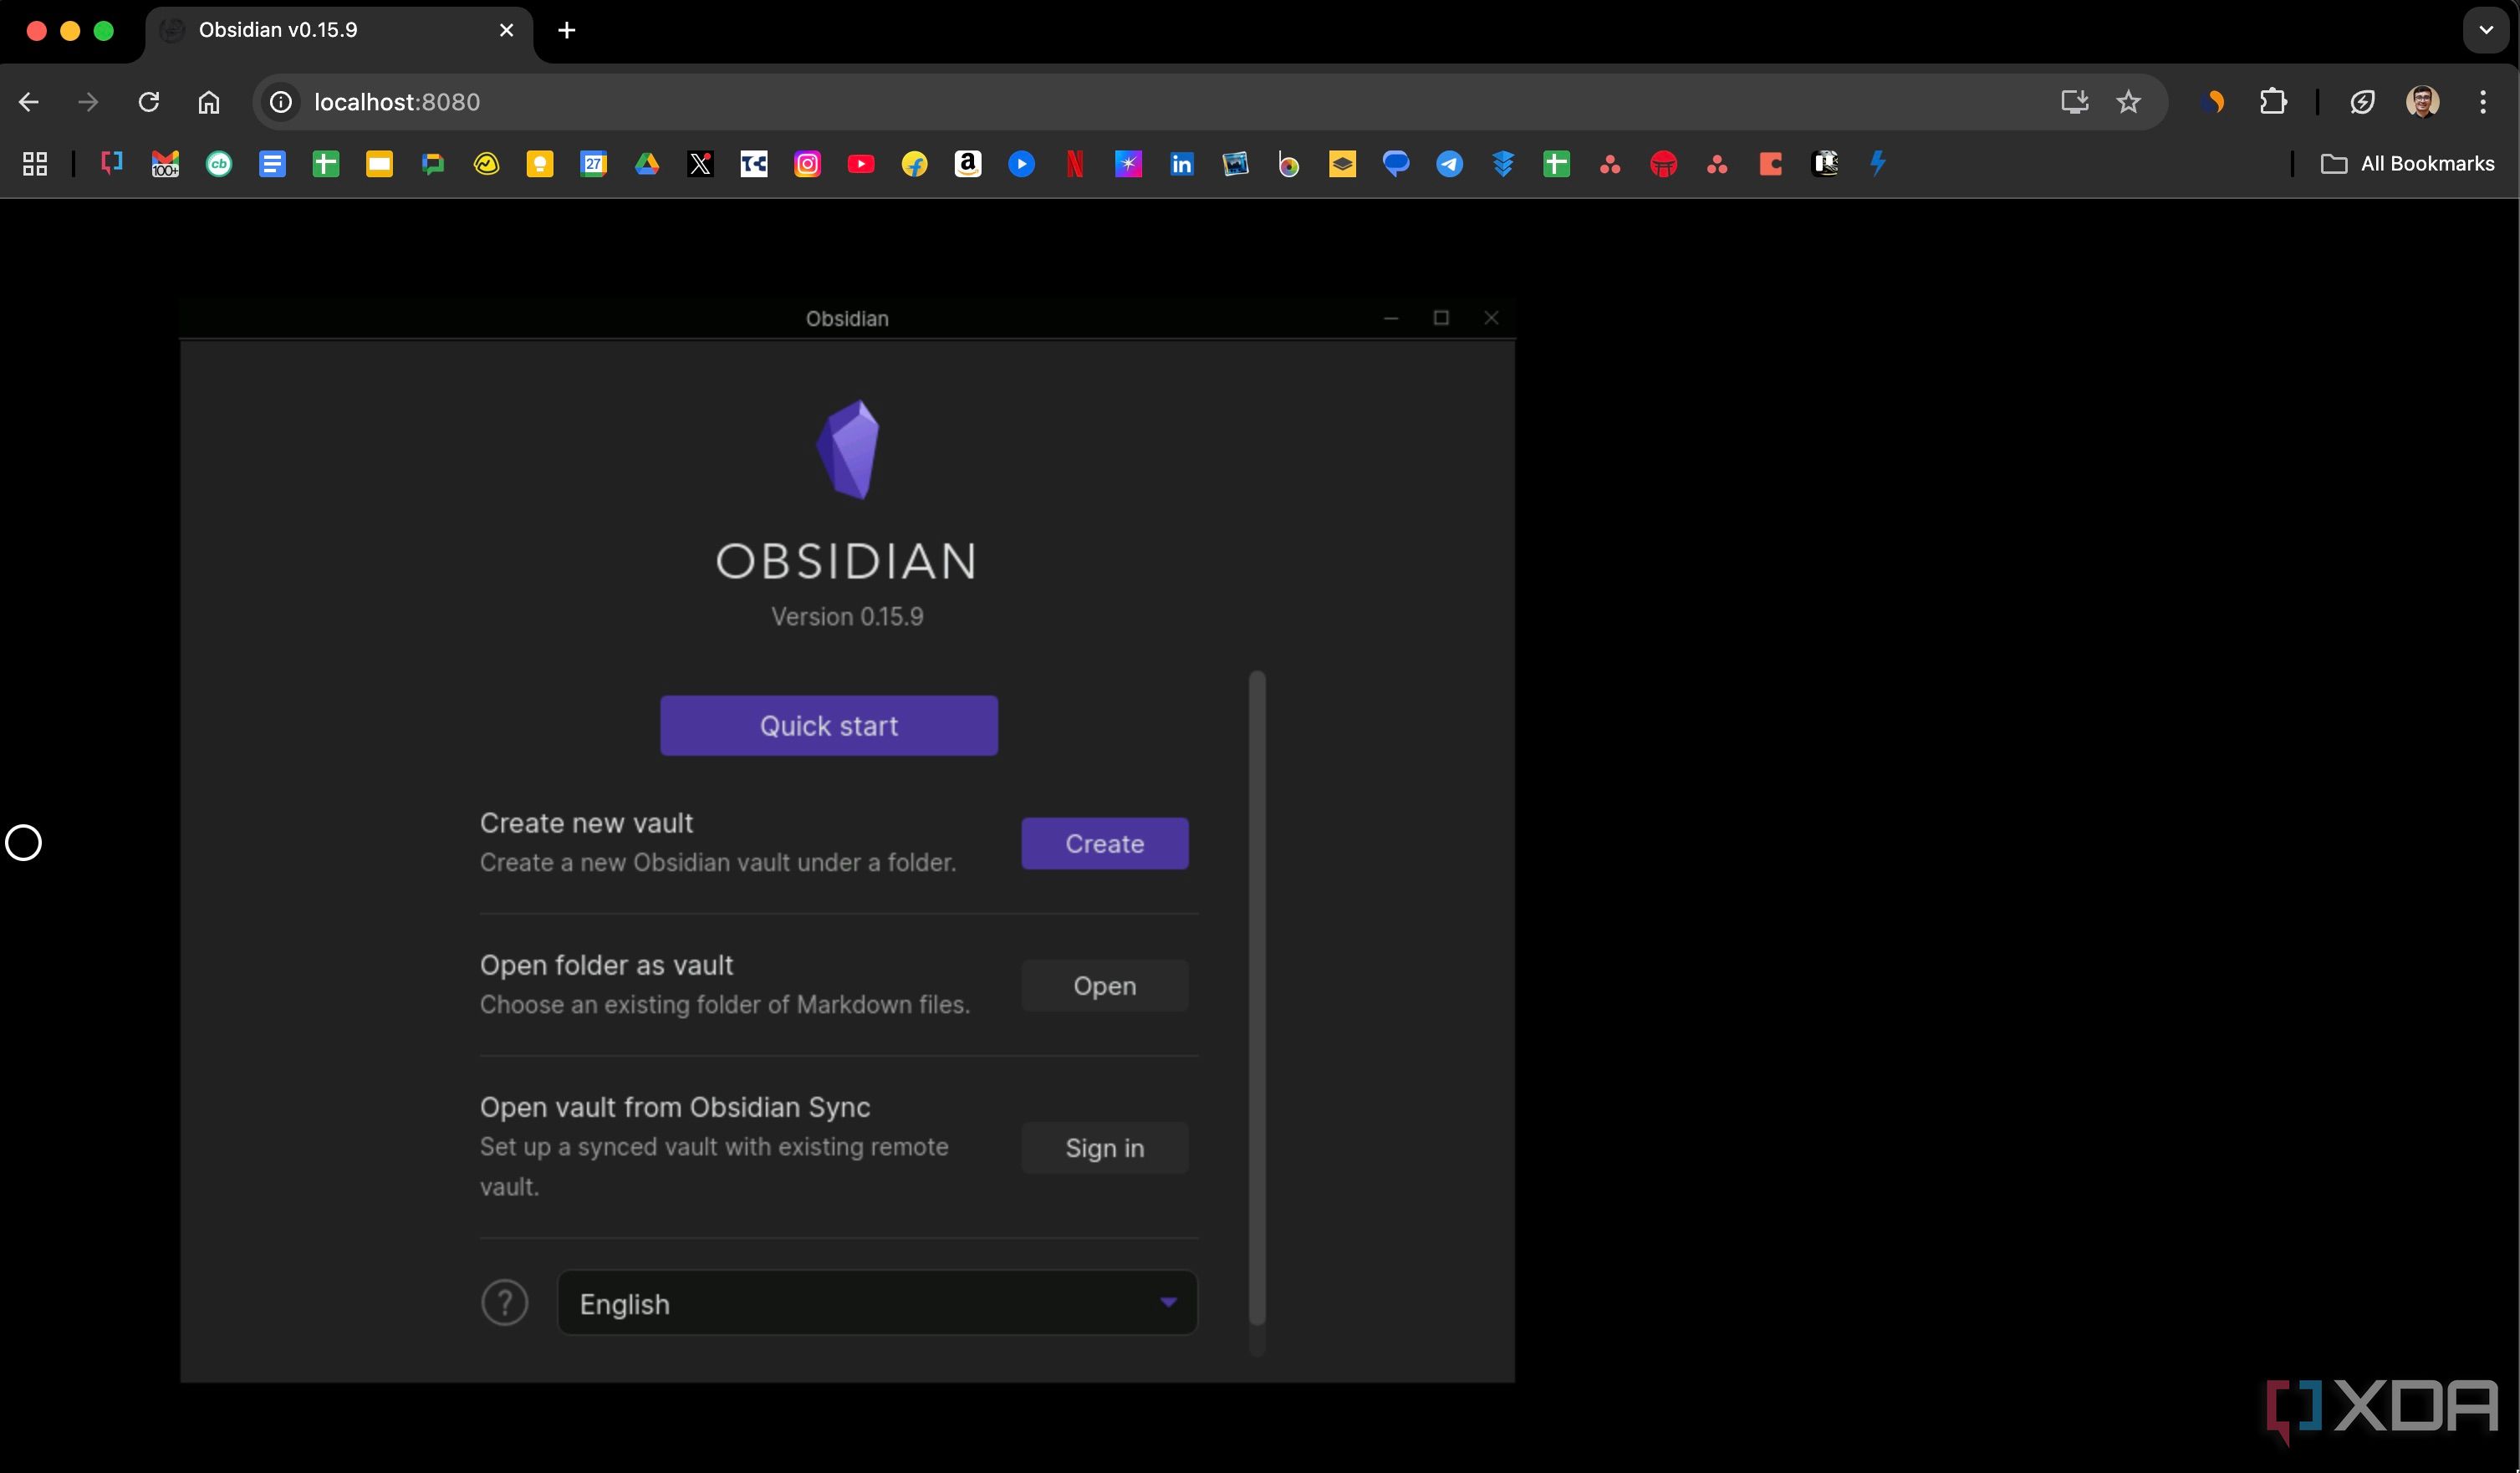
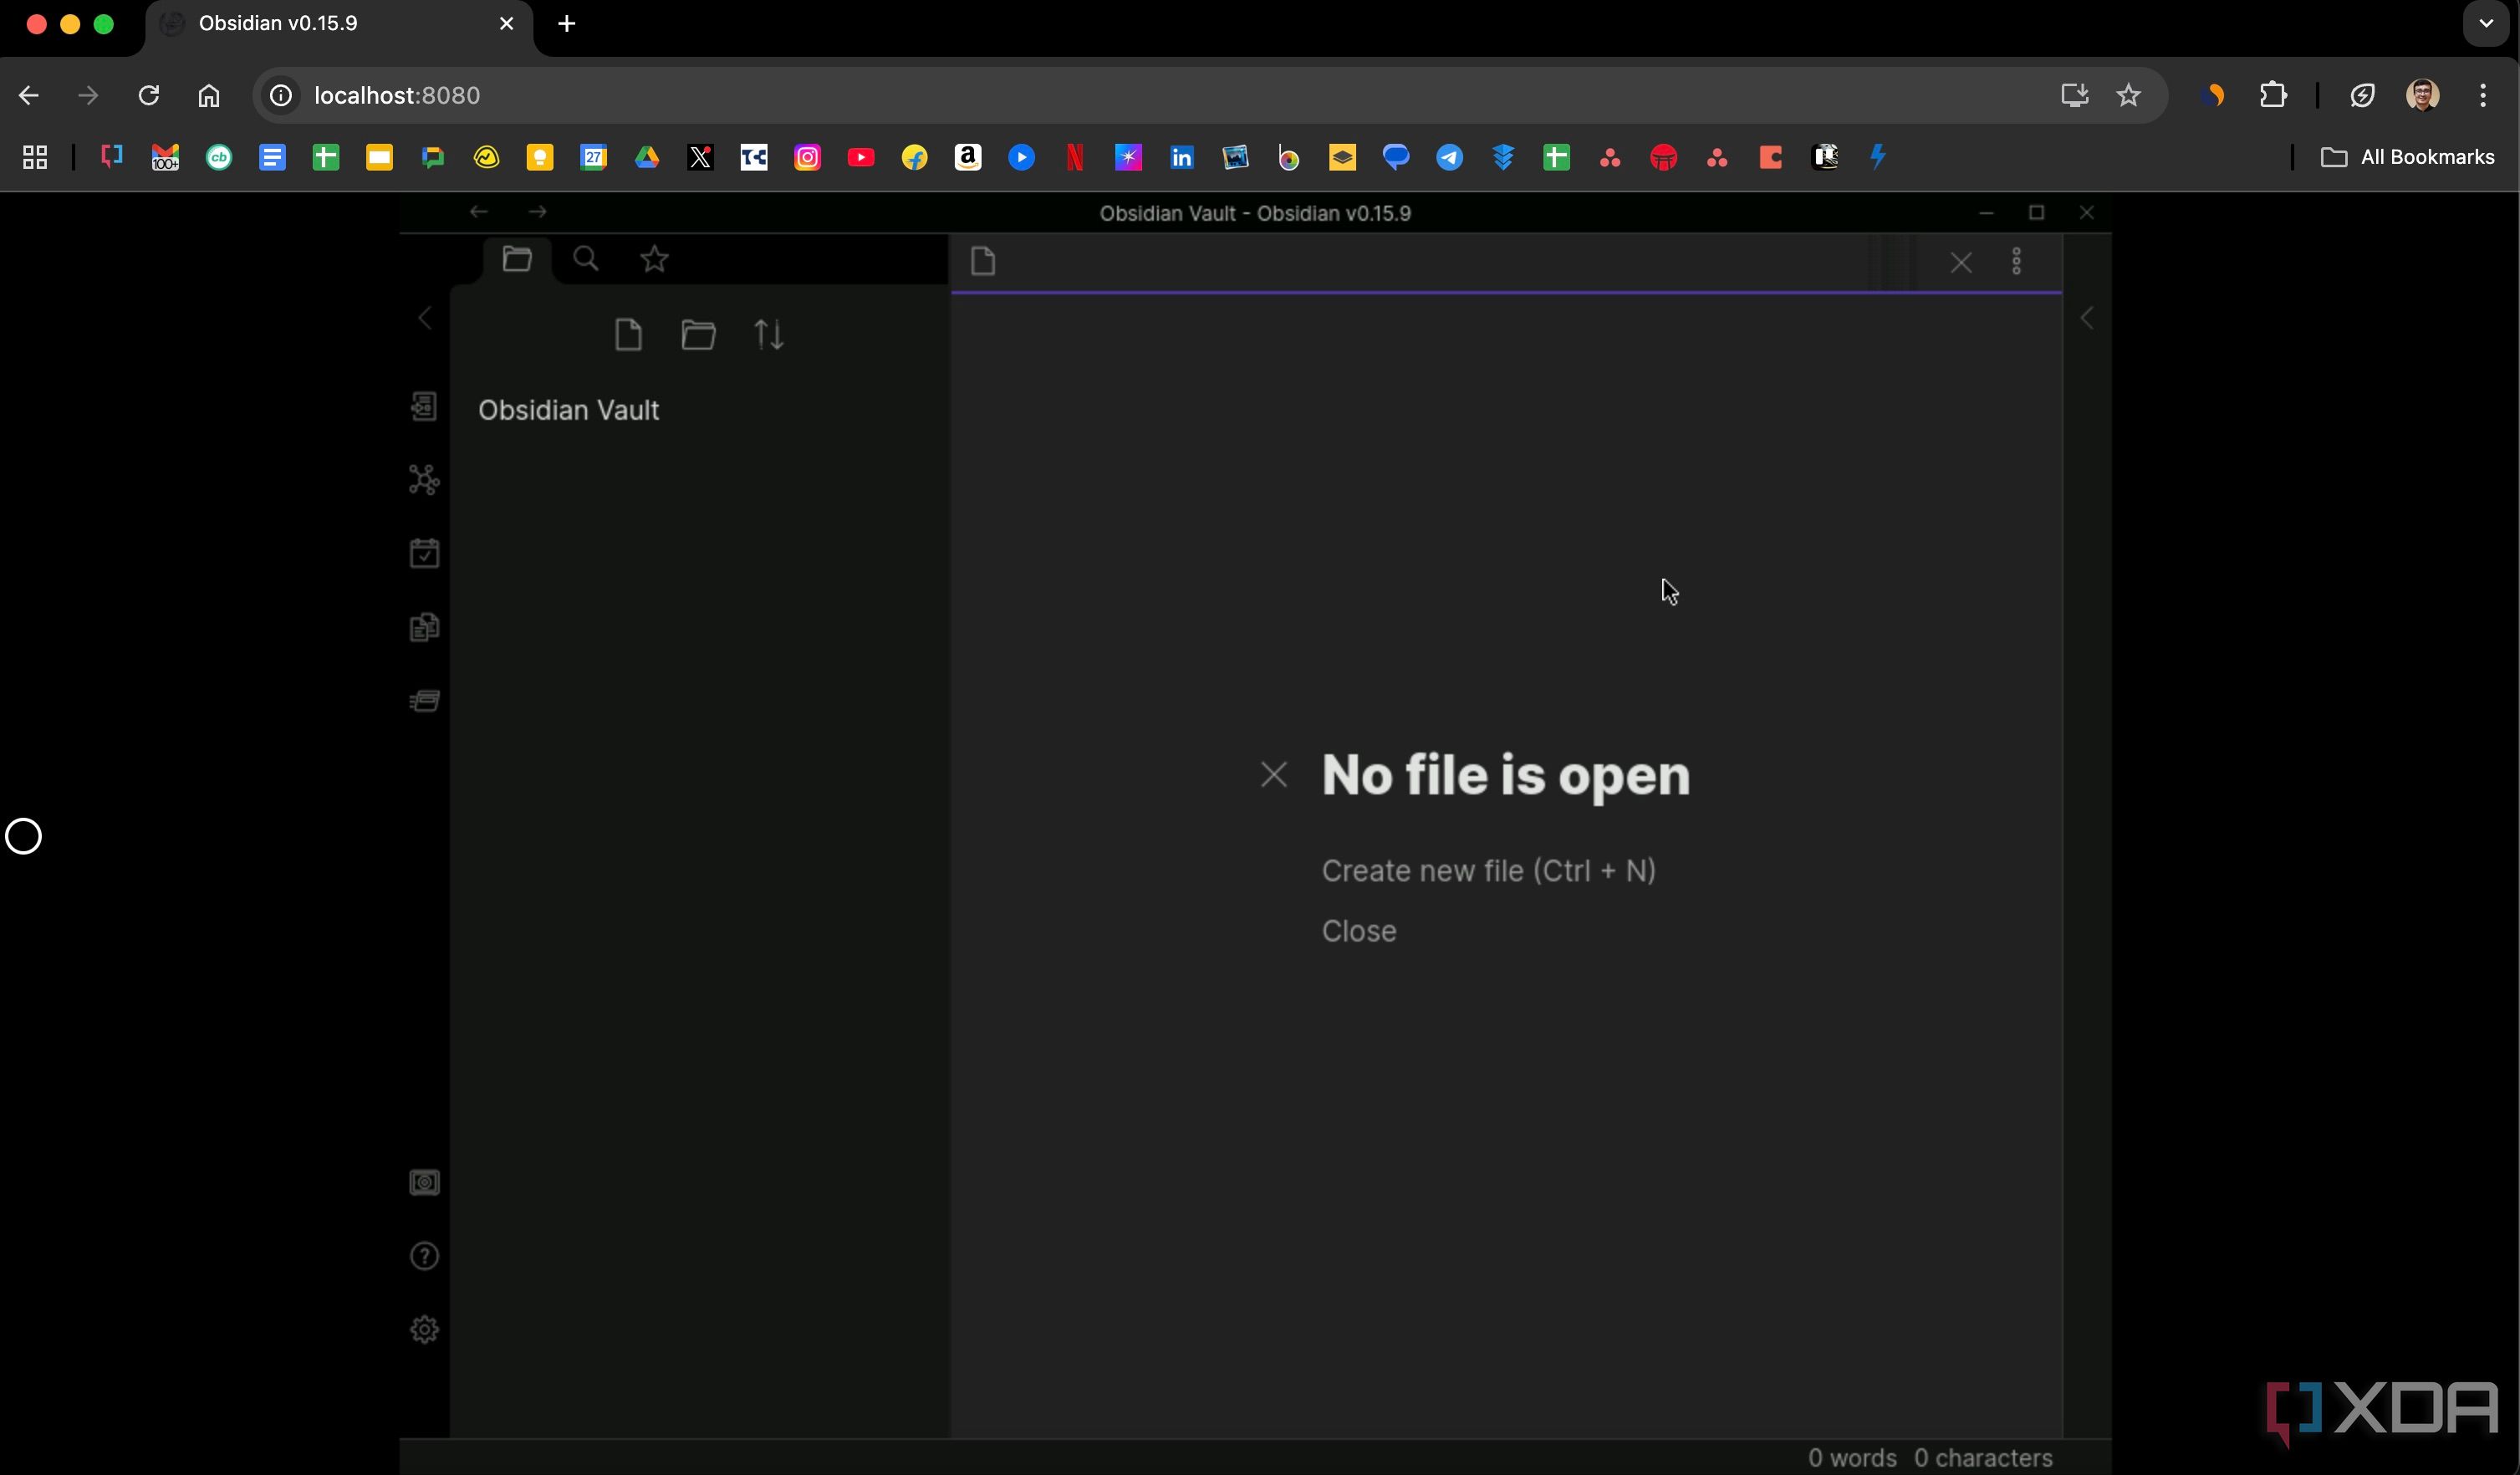
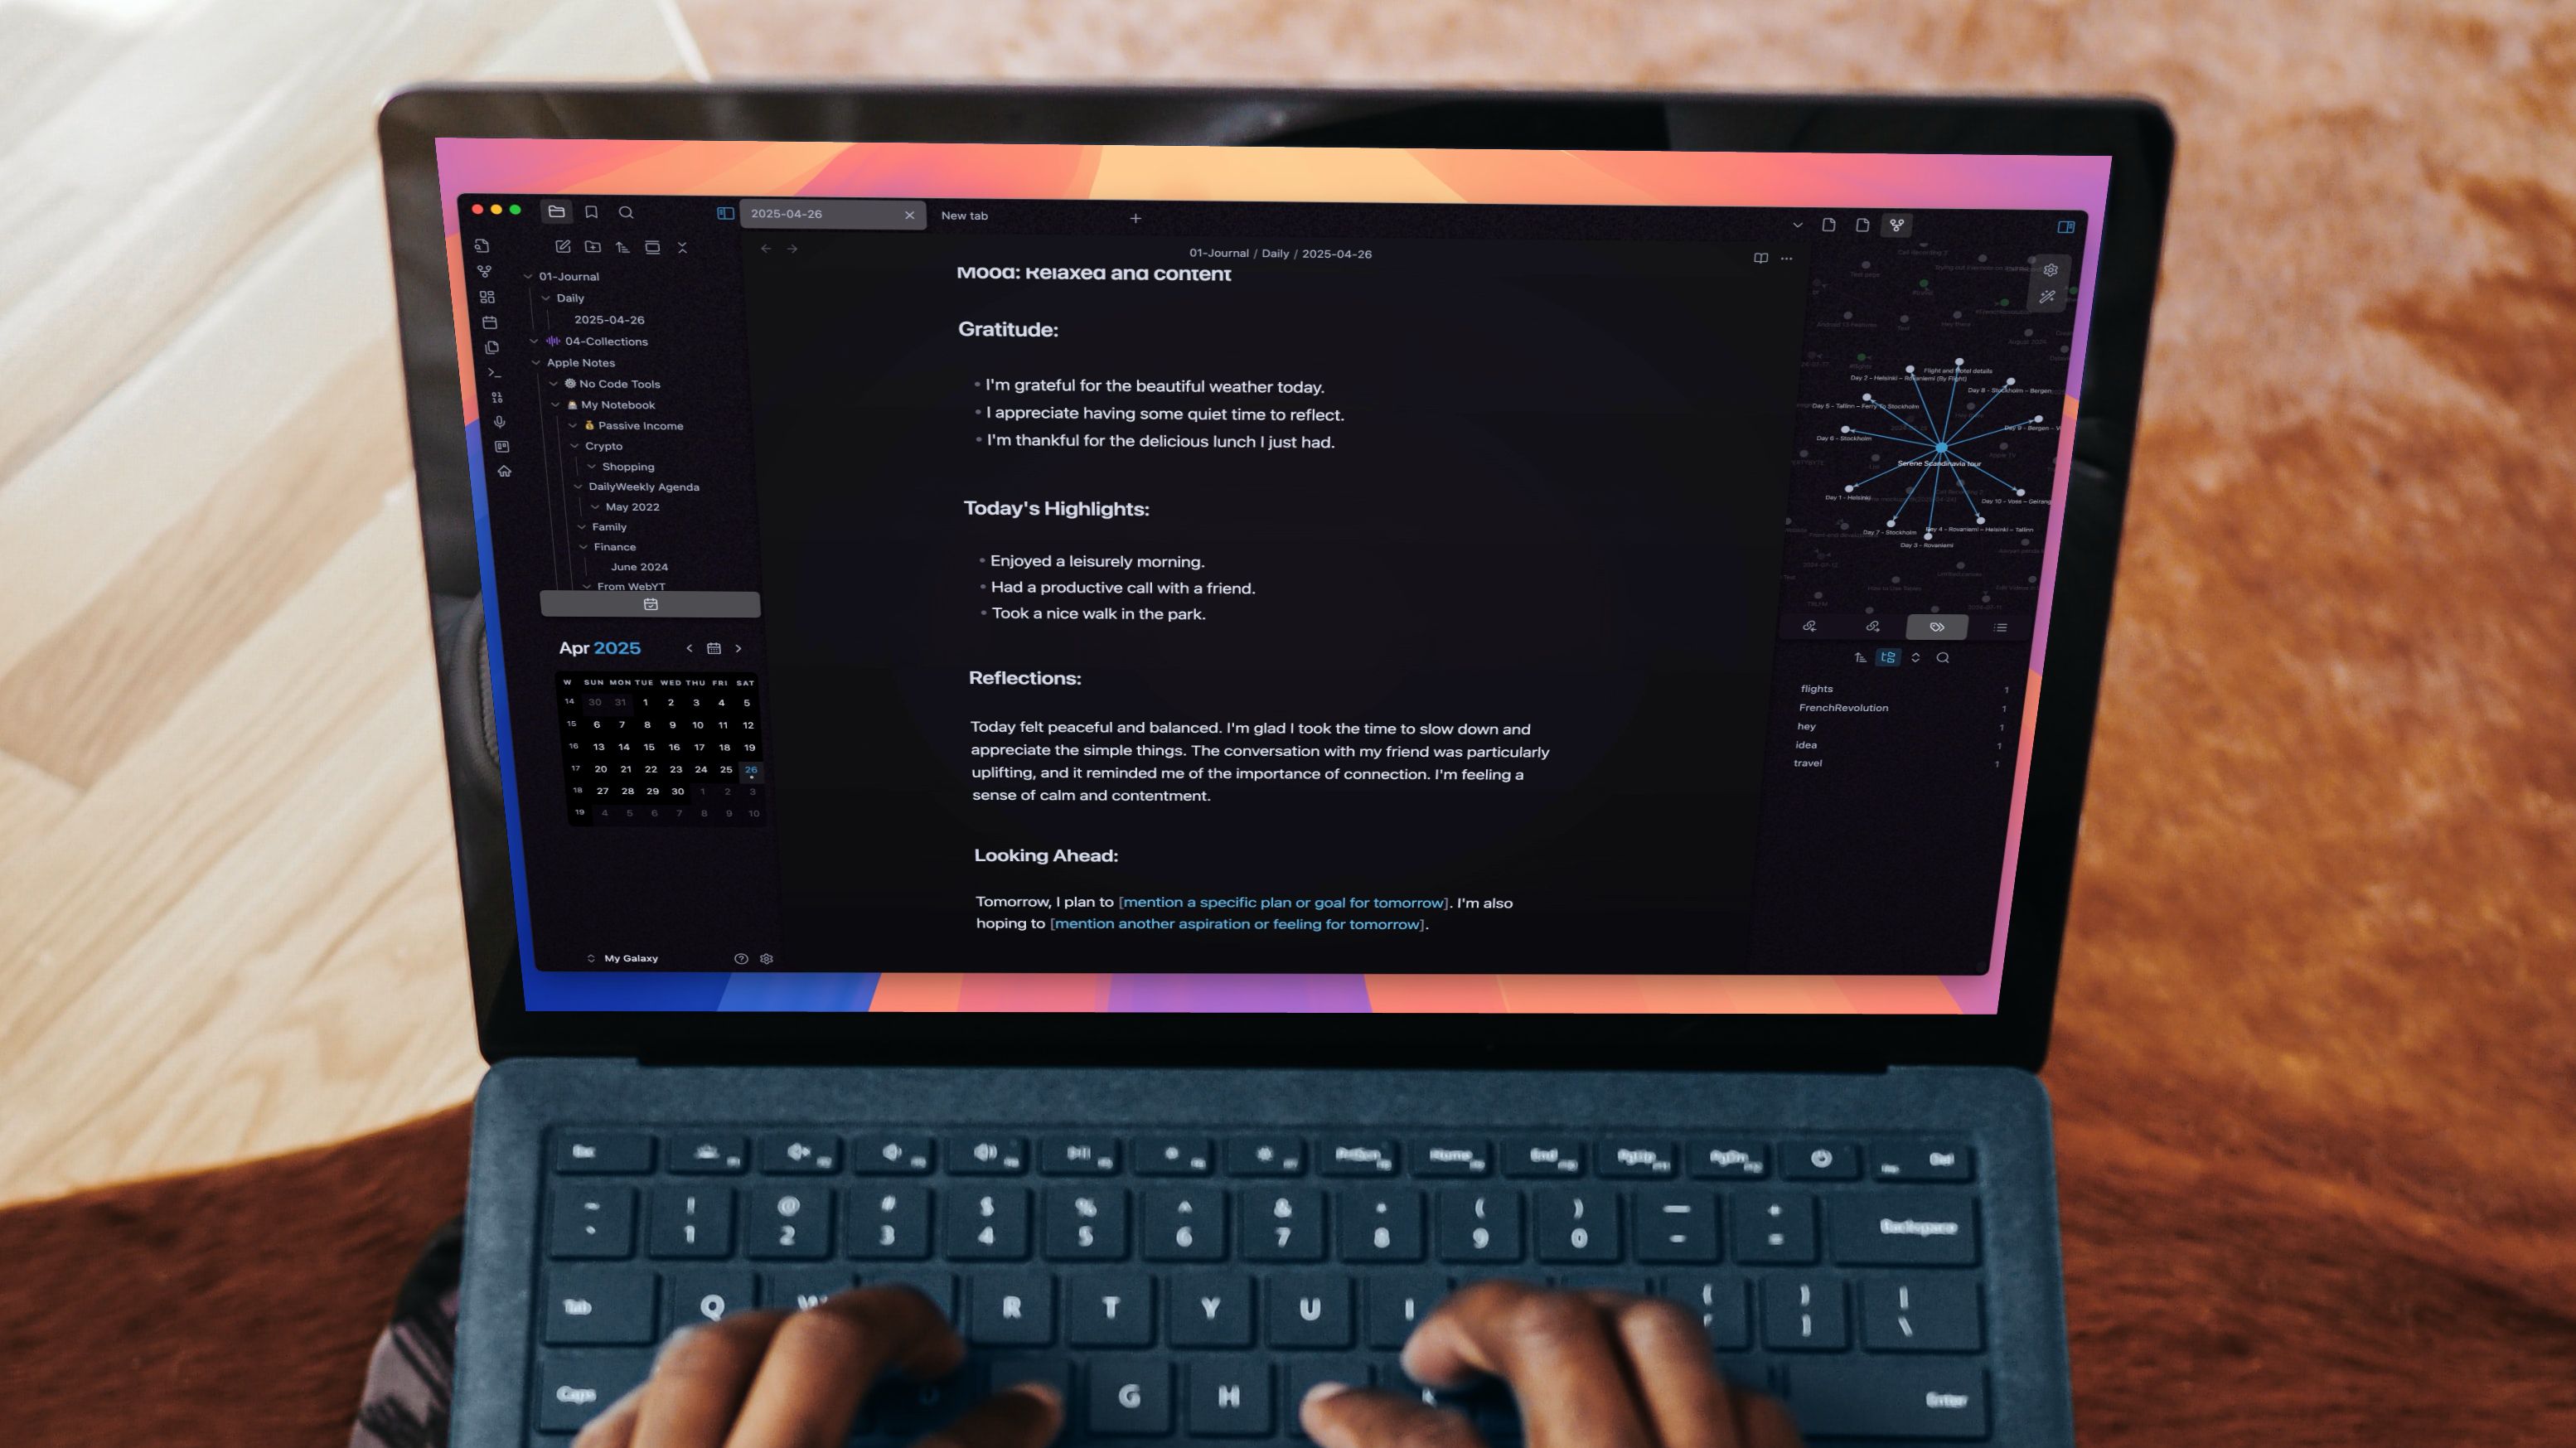
Using Obsidian inside a browser
在浏览器中使用 Obsidian
Everything looks and works the same
界面外观与功能完全一致


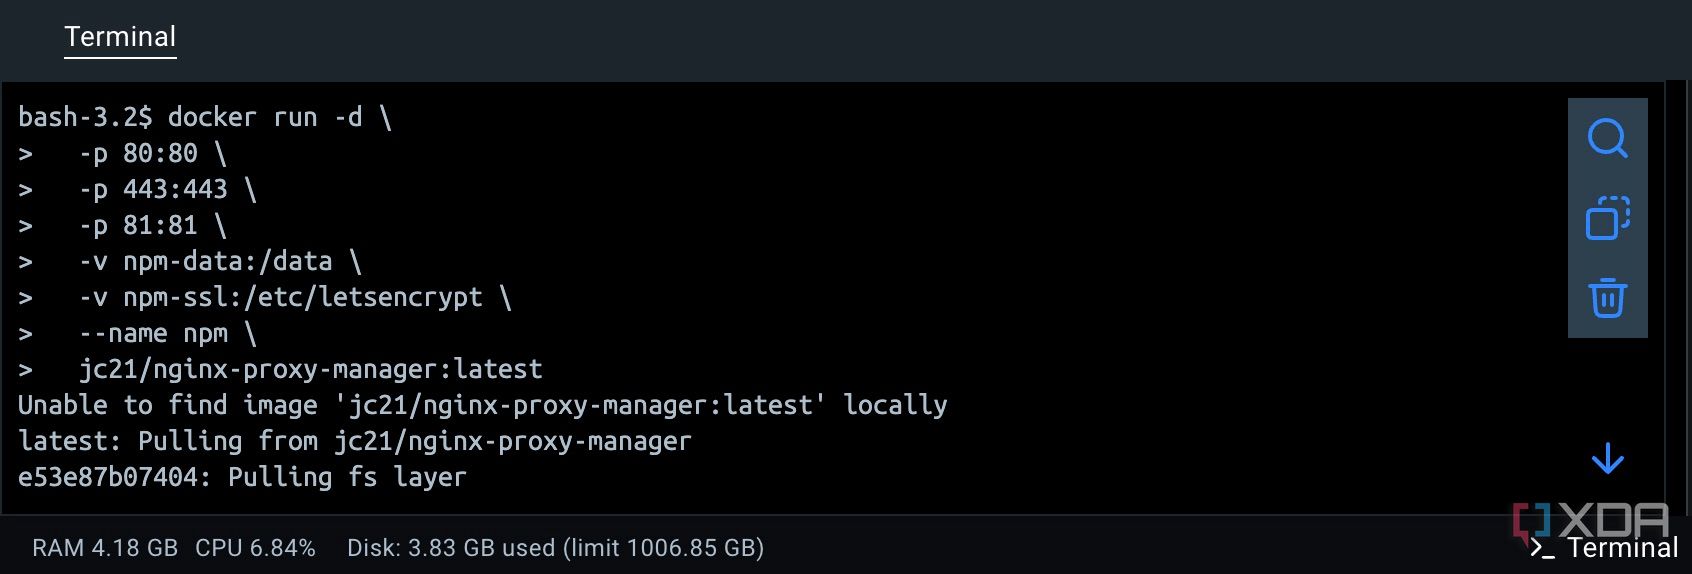
services:
 app:
 image: 'jc21/nginx-proxy-manager:latest'
 restart: unless-stopped
 ports:
 - '80:80'
 - '443:443'
 - '81:81'
 environment:
 volumes:
 - ./data:/data
 - ./letsencrypt:/etc/letsencrypt
Then, run it using:
然后运行以下命令:
docker compose up -d
Configure the proxy host as per the required settings, and you should be able to access Obsidian securely from anywhere using https://obsidian.yourdomain.com.
按照所需配置设置代理主机后,您就能通过 https://obsidian.yourdomain.com 安全地从任何地方访问 Obsidian。
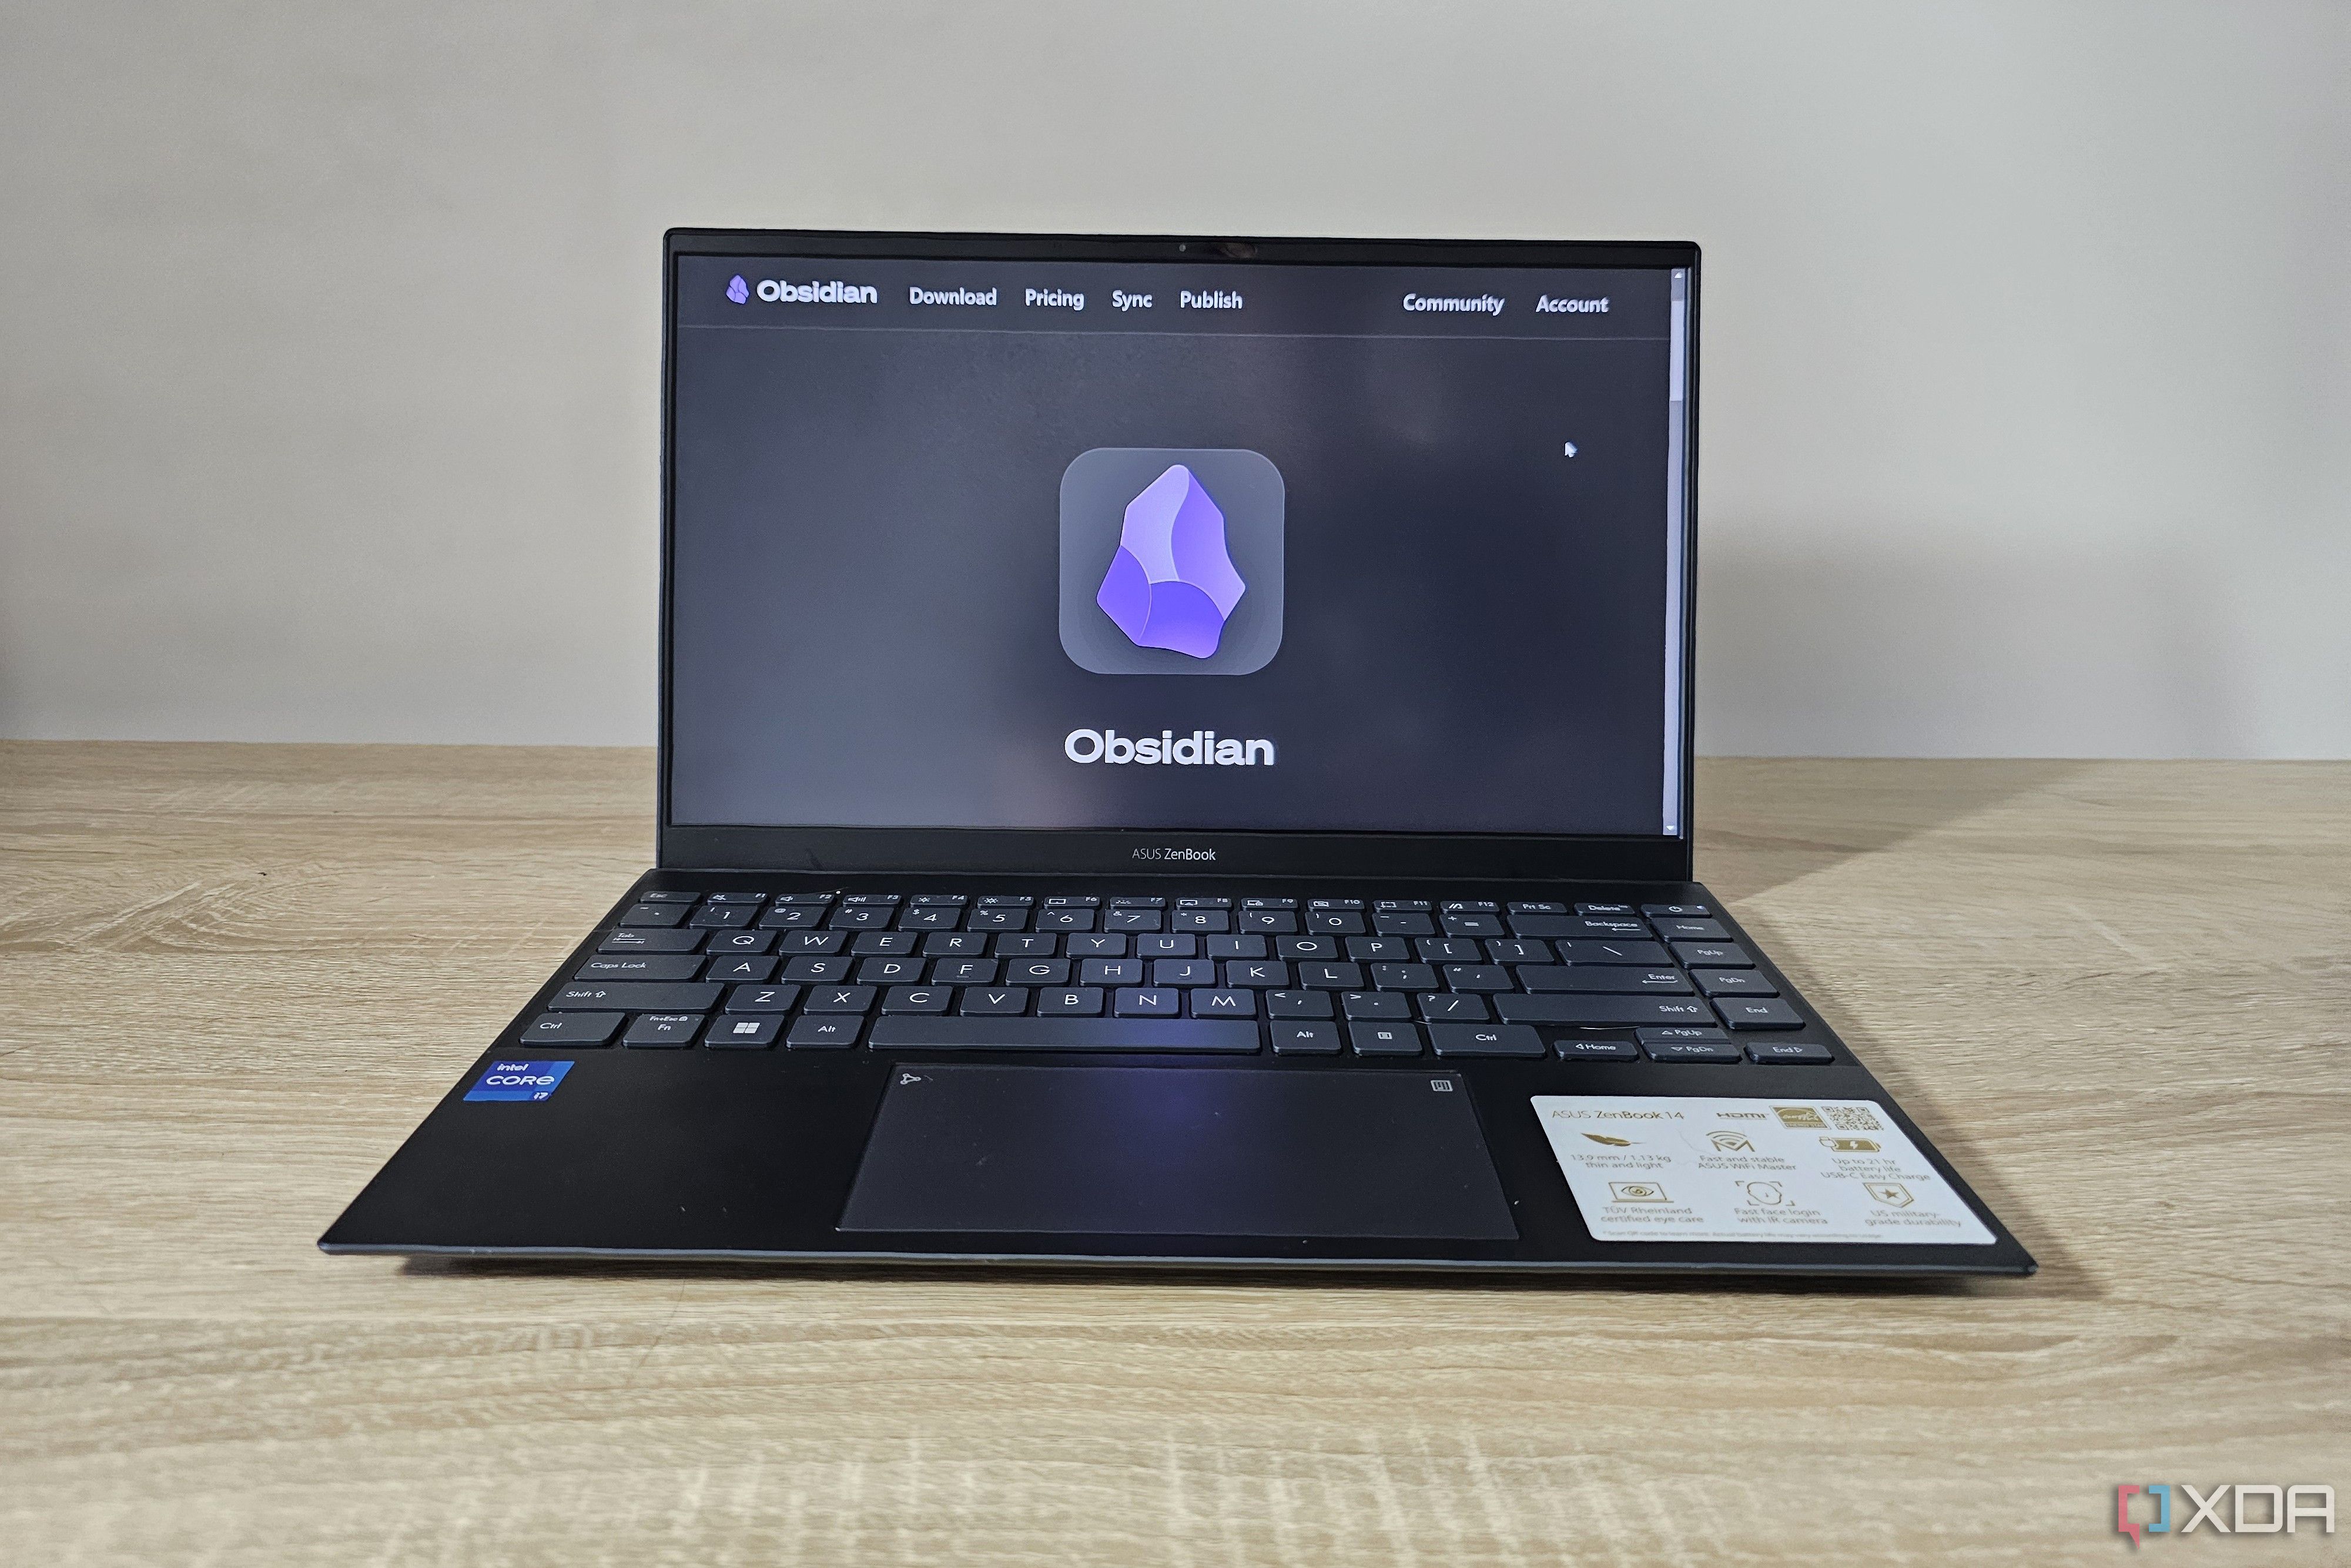
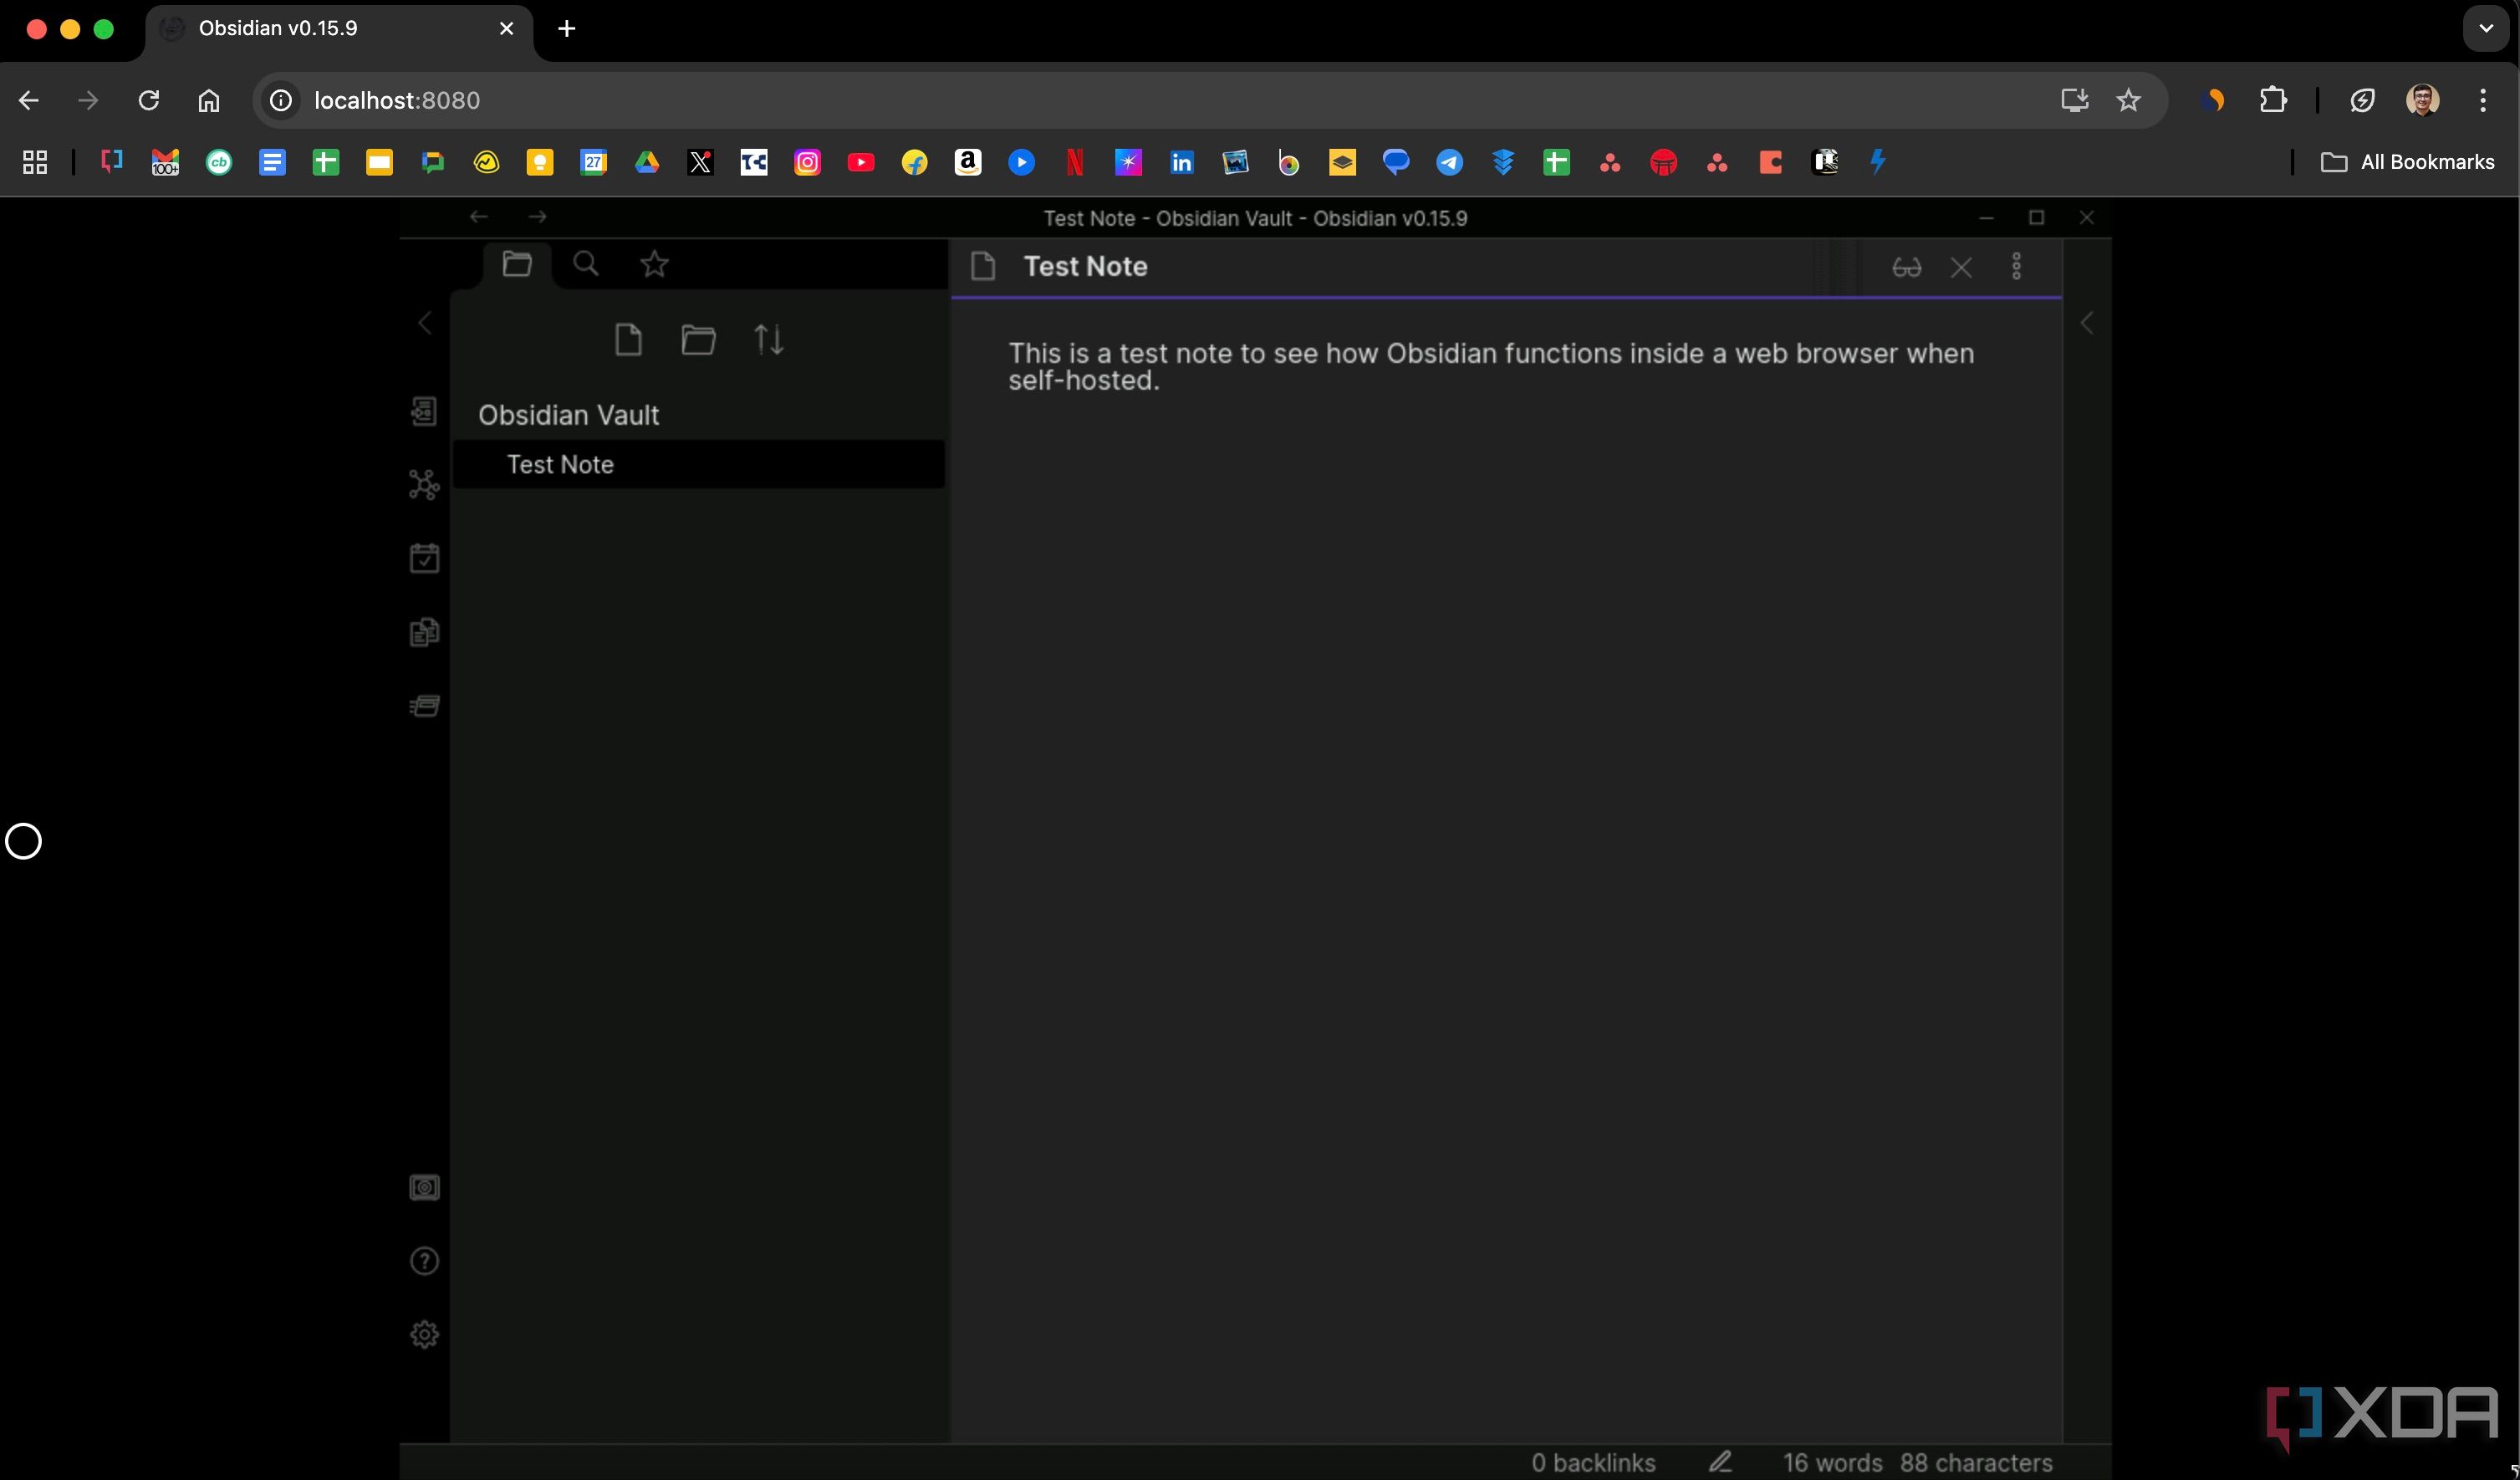
Surprisingly, everything is functional and works swiftly. The resolution of the text and the elements on the screen could have been better, but there's nothing to complain about since the core functionality is solid. This is also an excellent way to access your Obsidian notes without syncing them to any other platform, since Obsidian Sync isn't free natively.
令人惊讶的是,所有功能都能流畅运行。虽然文字和屏幕元素的显示分辨率还有提升空间,但核心功能非常可靠,没什么可抱怨的。这也是在不将笔记同步到其他平台的情况下访问 Obsidian 笔记的绝佳方式,毕竟 Obsidian Sync 原生服务并非免费。
Never lose access to your vault
永不丢失对知识库的访问权限
Once you self-host Obsidian, you can access your vault from anywhere without worrying about downloading the app. Of course, you will also have to set up a proxy manager for additional security and ensure that you can continue to access your vault even when you're not on the same Wi-Fi network as the one on which you've hosted the service. Once you sort that out, you can continue to use all of Obsidian's features even in the web version. It's not a watered-down version of the service, so everything from plugins to updates is supported.
当你自行托管 Obsidian 后,就能随时随地访问知识库,无需担心下载应用的问题。当然,你还需要配置代理管理器来增强安全性,确保即使不在托管服务的同一 Wi-Fi 网络下也能持续访问知识库。完成这些设置后,你甚至可以在网页版中使用 Obsidian 的全部功能——这并非功能阉割的版本,从插件支持到系统更新都完整保留。
Here’s how I created a beautiful and functional Obsidian vault
Give your Obsidian vault a visual makeover
打造美观实用的 Obsidian 知识库全攻略 为你的 Obsidian 知识库来场视觉焕新

