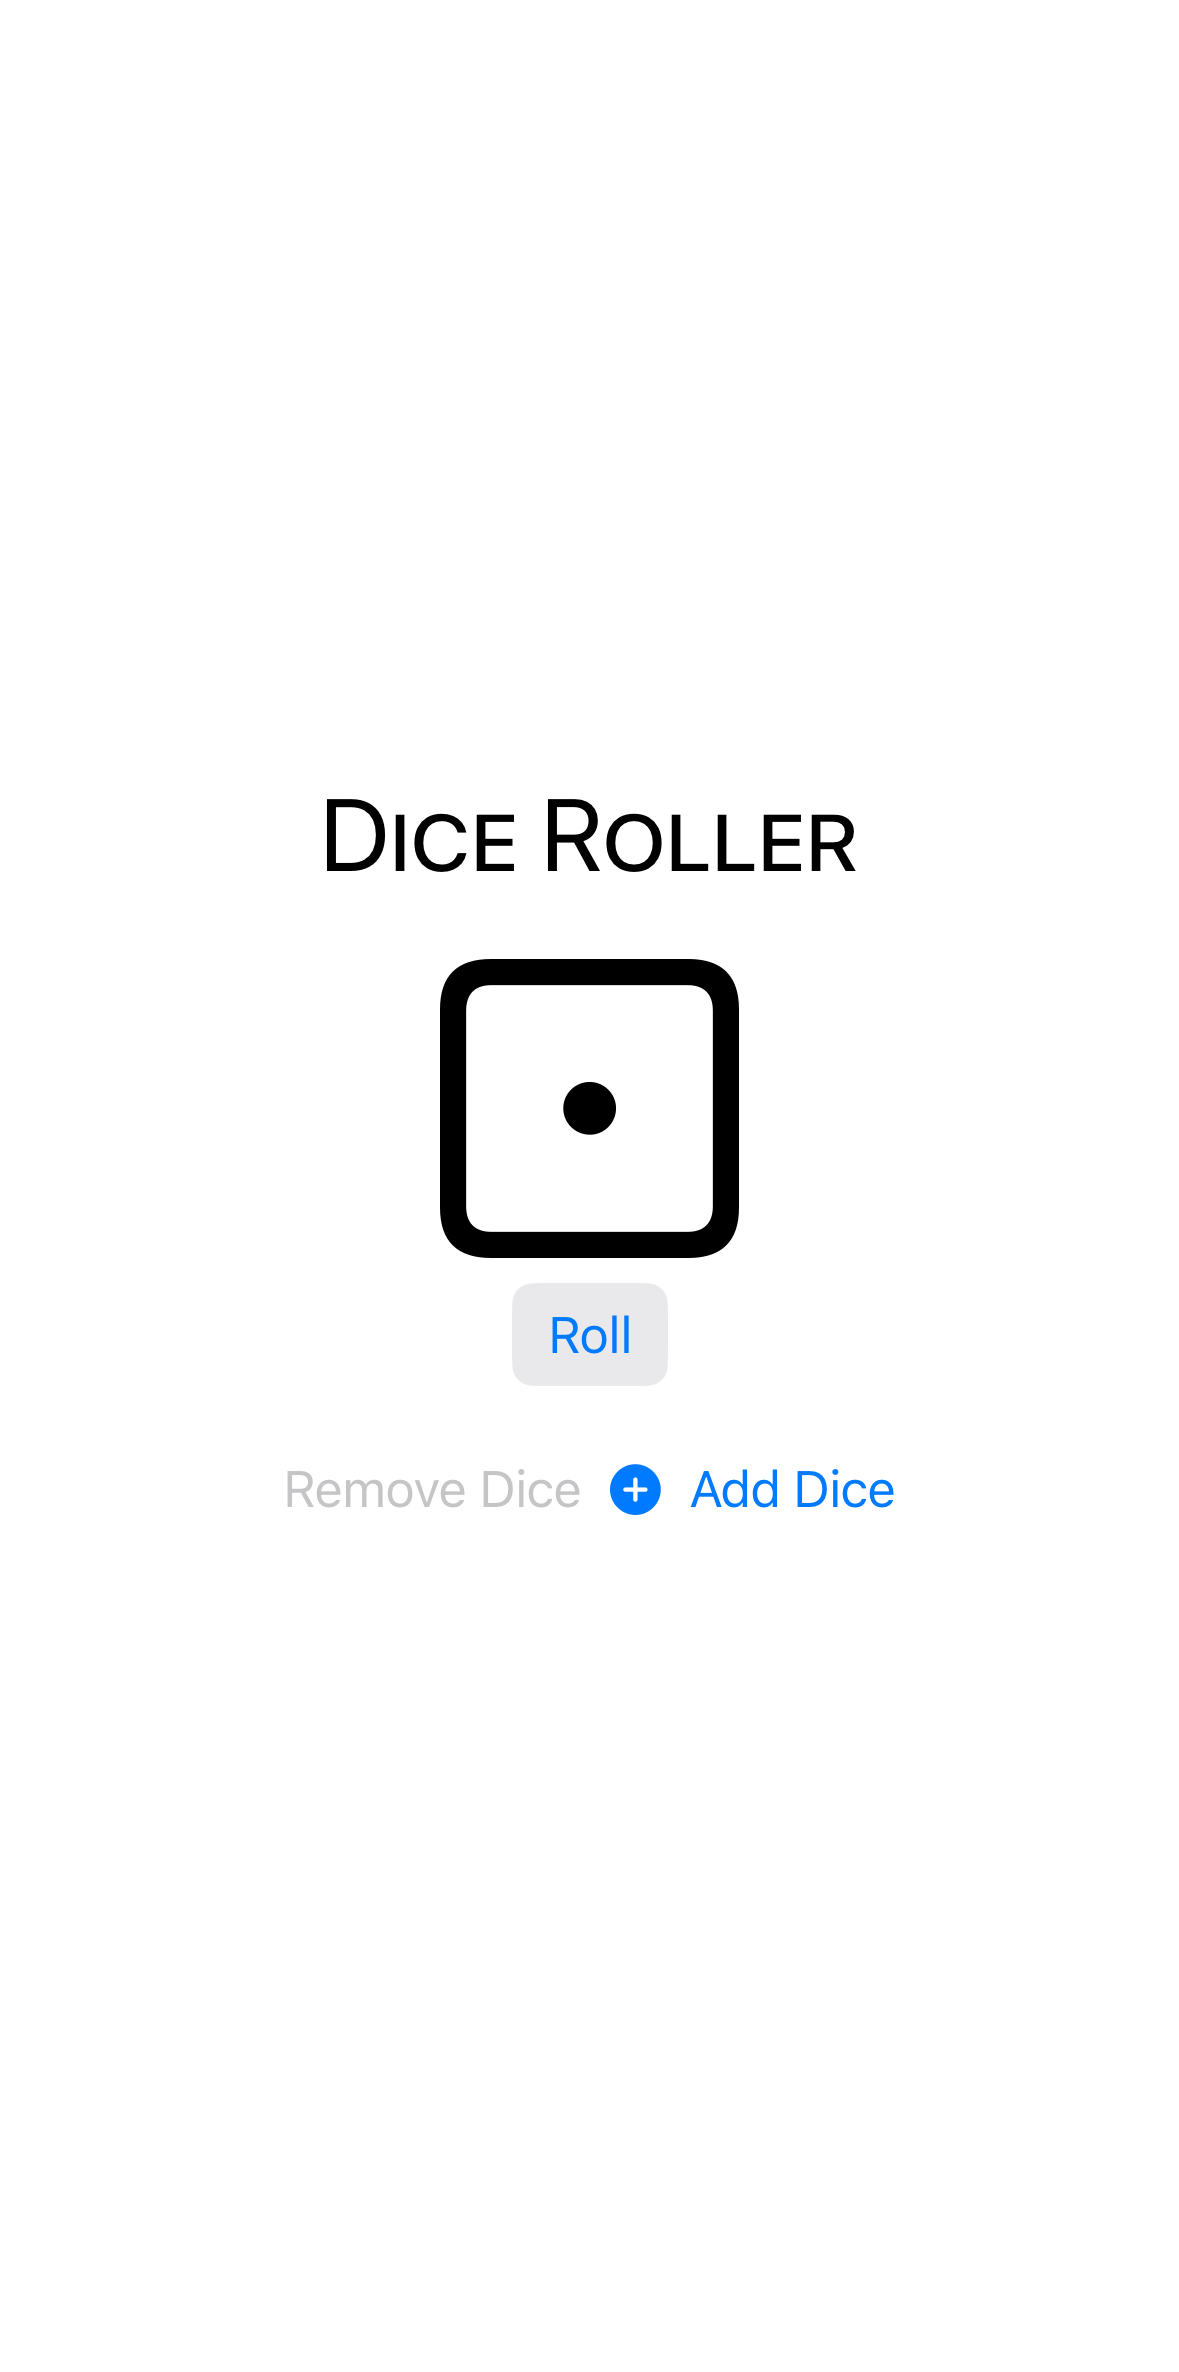
探索如何通过创建一个掷虚拟骰子的应用程序来使用 @State 属性和按钮更新应用程序的用户界面。添加功能以增加或减少屏幕上骰子的数量,以便玩不同类型的游戏。
按钮和状态
用状态更新用户界面
步骤 1
在 Xcode 中创建一个名为 DiceRoller 的 iOS 应用项目。
步骤 2
创建一个名为 DiceView 的 SwiftUI 视图文件。

步骤 3
将主体代码替换为骰子的图像。
步骤 4
向视图添加一个属性,以表示骰子上的点数。
您使用赋值运算符=为属性赋予默认值为1。
DiceView.swift
struct DiceView: View {
var numberOfPips: Int = 1
var body: some View {
Image(systemName: "die.face.1")
步骤 5
该属性被标记为关键字 var,这意味着您可以为其分配新值。此视图是动态的;当人们掷骰子时,您将更改该属性的值。
当您为结构的属性分配默认值时,在初始化器中并不是必需的。这就是为什么您不必在预览中更改Dice实例以包含number。

步骤 6
使用字符串插值来显示骰子图像,使用您新属性的值。

步骤 7
使用修饰符来增加图像的大小。.resizable 修饰符告诉图像它可以拉伸以填充任何可用空间。您不希望骰子填充所有可用空间,因此通过设置其框架大小来限制图像。
您通常使用 .font 修饰符将 SF Symbols 的大小与其周围内容匹配。在这种情况下,您将图像作为纯图形内容使用,因此使用 .resizable 和 .frame 是可以的。
DiceView.swift
var body: some View {
Image(systemName: "die.face.\(numberOfPips)")
.resizable()
.frame(width: 100, height: 100)
}
}

DiceView.swift
//
//  DiceView.swift
//  DiceRoller
//
//
//


import SwiftUI


struct DiceView: View {
    var body: some View {
        Image(systemName: "die.face.1")
    }
}


#Preview {
    DiceView()
}

步骤 1
将图像嵌入到一个 VStack 中,以便您可以在其下方添加按钮。
DiceView.swift
    var body: some View {
        VStack {
            Image(systemName: "die.face.\(numberOfPips)")
                .resizable()
步骤 2
在VStack内部,在Image及其修饰符下,开始输入Button。代码补全会为您提供几个建议;选择带有title和action的选项。
如果你看到 title 而不是 title,请选择那个初始化器。

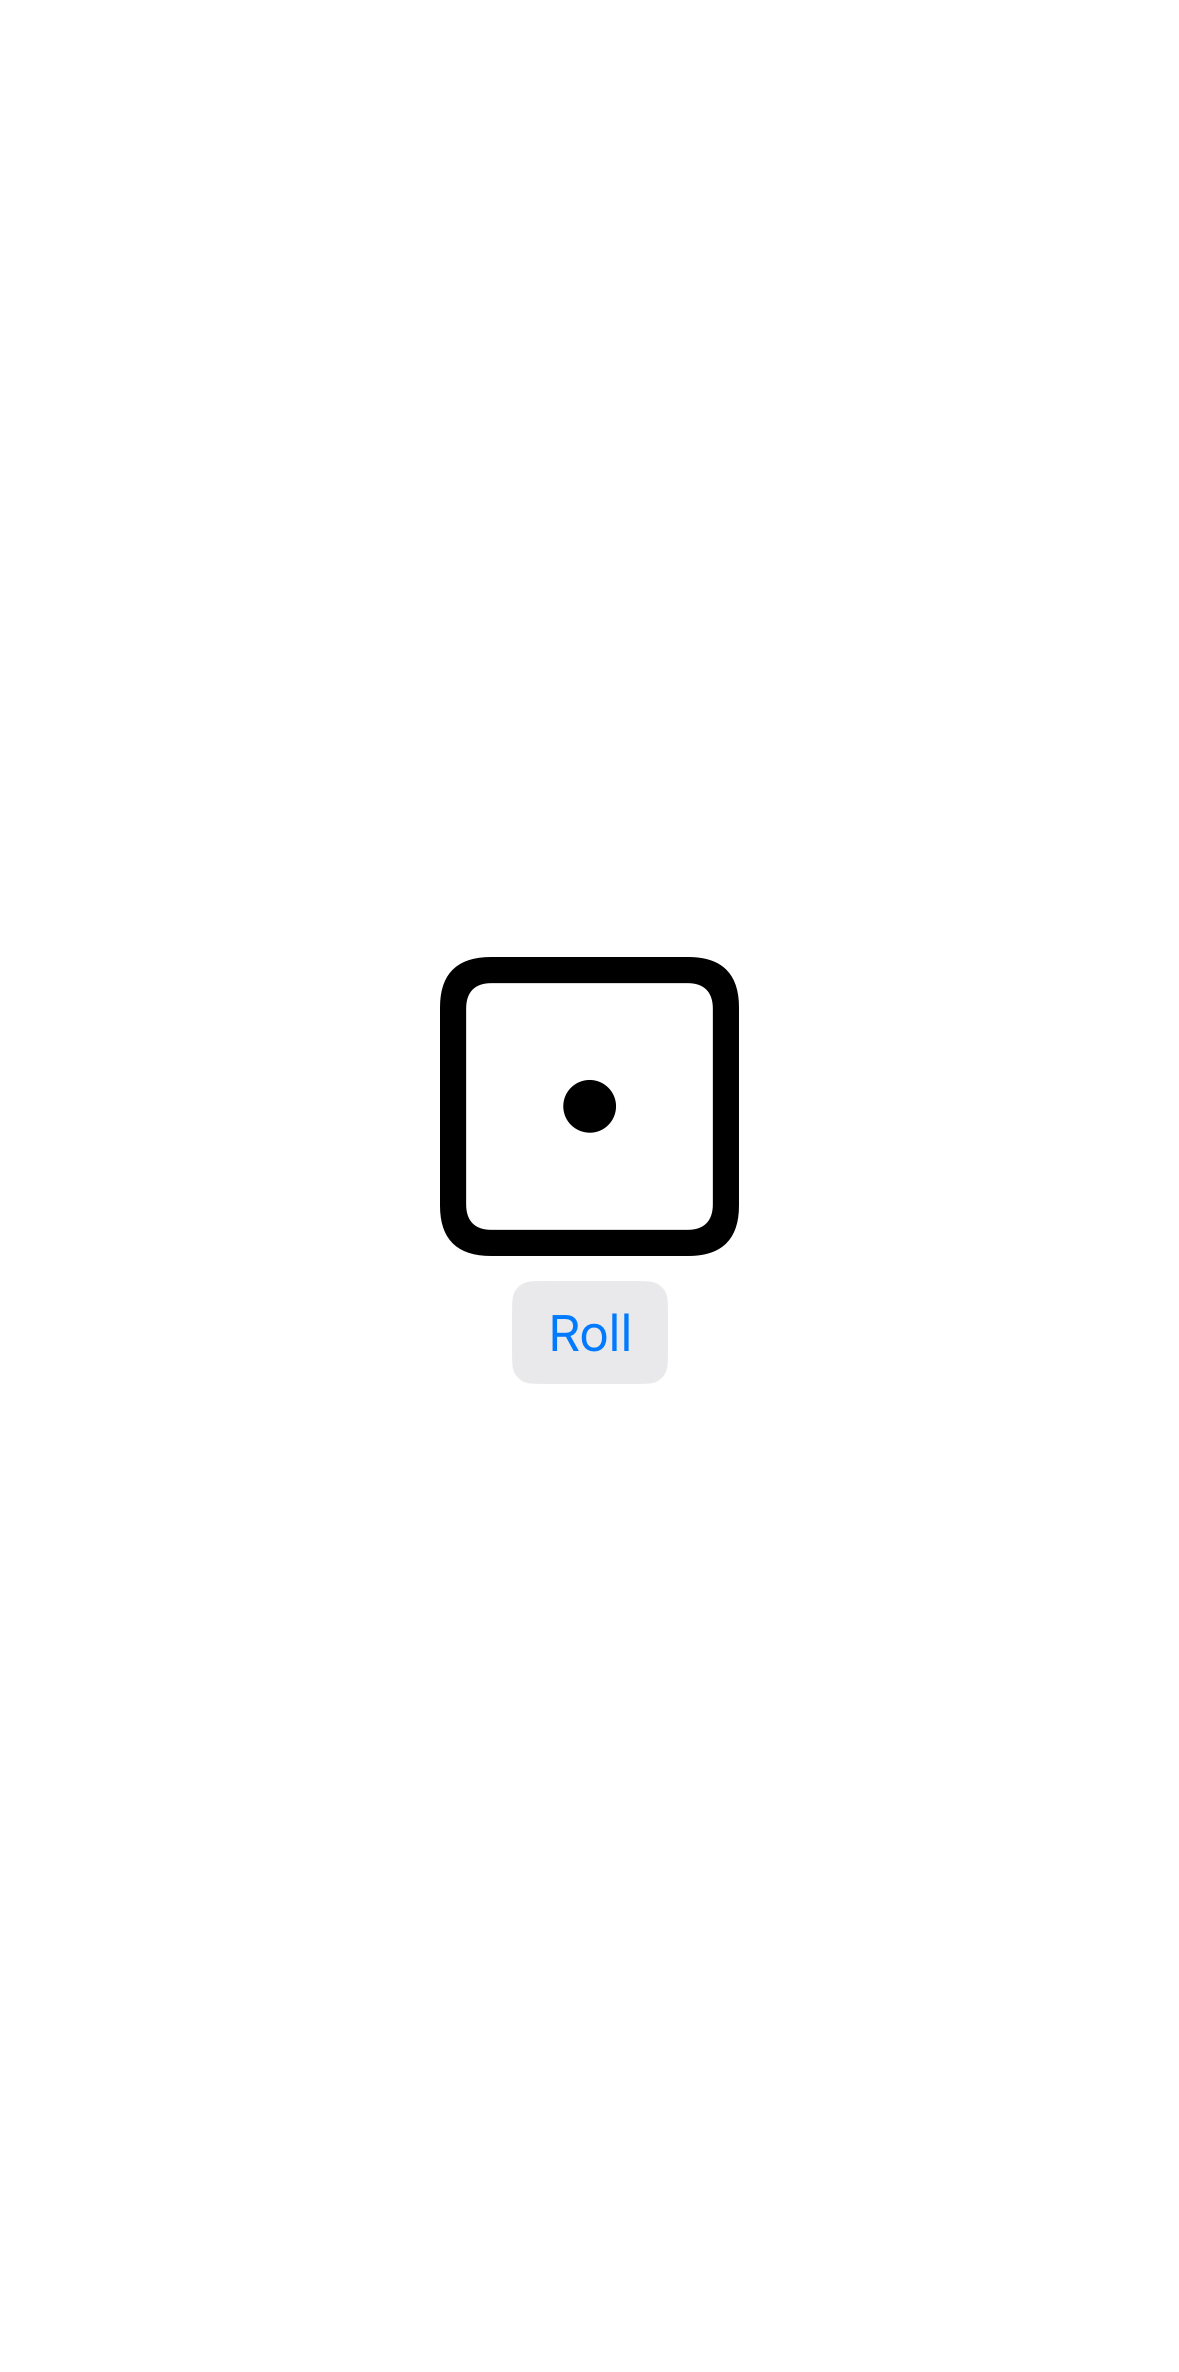
步骤 3
将第一个占位符替换为字符串 "Roll"。
DiceView.swift
                .resizable()
                .frame(width: 100, height: 100)

            Button("Roll", action: () -> Void)
        }
    }
No Preview
步骤 4
第二个参数,action: () -> Void,需要一个闭包,当人们点击按钮时执行代码。按 Tab 选择占位符,然后按 Return。
Xcode 完全移除了 action 参数,并用一对大括号中的闭包替代。大括号内有一个 code 占位符,您将在其中编写按钮的代码。
步骤 5
将最后一个占位符替换为代码,以选择骰子的随机点数。
Int 从括号内的范围中选择一个随机整数;代码 1...6 创建一个从 1 到 6 的整数范围。
您的代码中有一个错误,您将在下一部分通过将 number 更改为 @State 属性来修复它。
步骤 1
将number设置为@State属性。然后点击“Roll”按钮几次,检查图像是否变化。
视图状态由视图拥有。您始终将状态属性标记为 private,以便其他视图无法干扰它们的值。
步骤 2
为按钮添加边框,以使其与图像区分开。
步骤 3
要使旧骰子图像过渡到新图像时淡出,请使用with来动画化变化。
添加 with 指示 SwiftUI 动画任何在其代码中发生的状态变化。它使用尾随闭包,类似于 Button 的工作方式。
DiceView.swift
//
// DiceView.swift
// DiceRoller
//
//
//
import SwiftUI
struct DiceView: View {
private var numberOfPips: Int = 1
var body: some View {
VStack {
Image(systemName: "die.face.\(numberOfPips)")
.resizable()
.frame(width: 100, height: 100)
Button("Roll") {
                numberOfPips = Int.random(in: 1...6)
            }
            .buttonStyle(.bordered)
        }
    }
}
#Preview {
DiceView()
}
第 4 节
创建一个动态骰子显示
通过创建另一个属性来添加选择骰子数量的功能。用@State标记该属性可以确保在骰子数量变化时界面更新。
步骤 1
在Content中,用一个标题替换VStack的内容。
您可以像在视图中使用修饰符一样,在Font类型上使用修饰符。
ContentView.swift
var body: some View {
VStack {
Text("Dice Roller")
.font(.largeTitle.lowercaseSmallCaps())
}
.padding()
步骤 2
添加一个HStack,其中包含三个Dice实例。尝试掷每个骰子。
ContentView.swift
Text("Dice Roller")
.font(.largeTitle.lowercaseSmallCaps())
HStack {
DiceView()
DiceView()
DiceView()
}
}
.padding()

步骤 3
要能够显示任意数量的骰子,请使用 For 视图。通过使用从 1 到 3 的范围重复 Dice 三次。手动输入代码;For 为许多不同的用途提供代码补全选项。
For 视图是动态的;它根据输入计算其子视图,这些输入可能会随着应用程序的状态而变化。您可以使用 1...3 创建一个范围,就像您在 Int 中所做的那样。For 视图为范围内的每个值创建一个 Dice。
步骤 4
1...3 范围是静态的。为了使其适应任意数量的骰子,您将再次使用视图状态。添加一个状态属性以表示骰子的数量。
ContentView.swift
struct ContentView: View {
private var numberOfDice: Int = 1
var body: some View {
VStack {
步骤 5
使用新属性使范围动态。

步骤 6
在For视图和HStack下方,添加两个按钮以增加和减少骰子的数量。
查看每个按钮闭包内的代码。在 Swift 中,您可以使用 += 和 –= 来增加或减少属性的当前值。在这种情况下,您是在增加或减少 1。
ContentView.swift
}
}
HStack {
Button("Remove Dice") {
numberOfDice -= 1
}
Button("Add Dice") {
numberOfDice += 1
}
}
.padding()
}
.padding()
步骤 7
将骰子的数量减少到一个,然后点击移除骰子按钮。预览崩溃,因为范围 1...0 是无效的。

步骤 8
为了防止人们在只有一个 Dice 时点击“移除骰子”按钮,您可以 禁用 该按钮以防止崩溃,并给人们一个按钮无响应的视觉提示。当 number 的值为 1 时,使用 .disabled 修饰符来禁用“移除骰子”按钮。
您使用 == 运算符来检查两个数字是否相等。此比较的结果是一个 Bool,它有两个值之一:true 或 false。当 number 为 true 时,修饰符会禁用按钮。

步骤 9
骰子的图像固定为 100x100 点,因此屏幕上只能显示三个骰子图像。使用 .disabled 修饰符与添加骰子按钮一起,防止人们拥有超过三个骰子。

步骤 10
使用with动画化骰子数量的变化。
ContentView.swift
//
//  ContentView.swift
//  DiceRoller
//
//
//


import SwiftUI


struct ContentView: View {
    var body: some View {
        VStack {
            Text("Dice Roller")
                .font(.largeTitle.lowercaseSmallCaps())
        }
        .padding()
    }
}


#Preview {
    ContentView()
}
第 5 节
调整界面以支持更多骰子
使用灵活的宽度和高度,使骰子图像能够根据屏幕上的骰子数量动态调整大小。
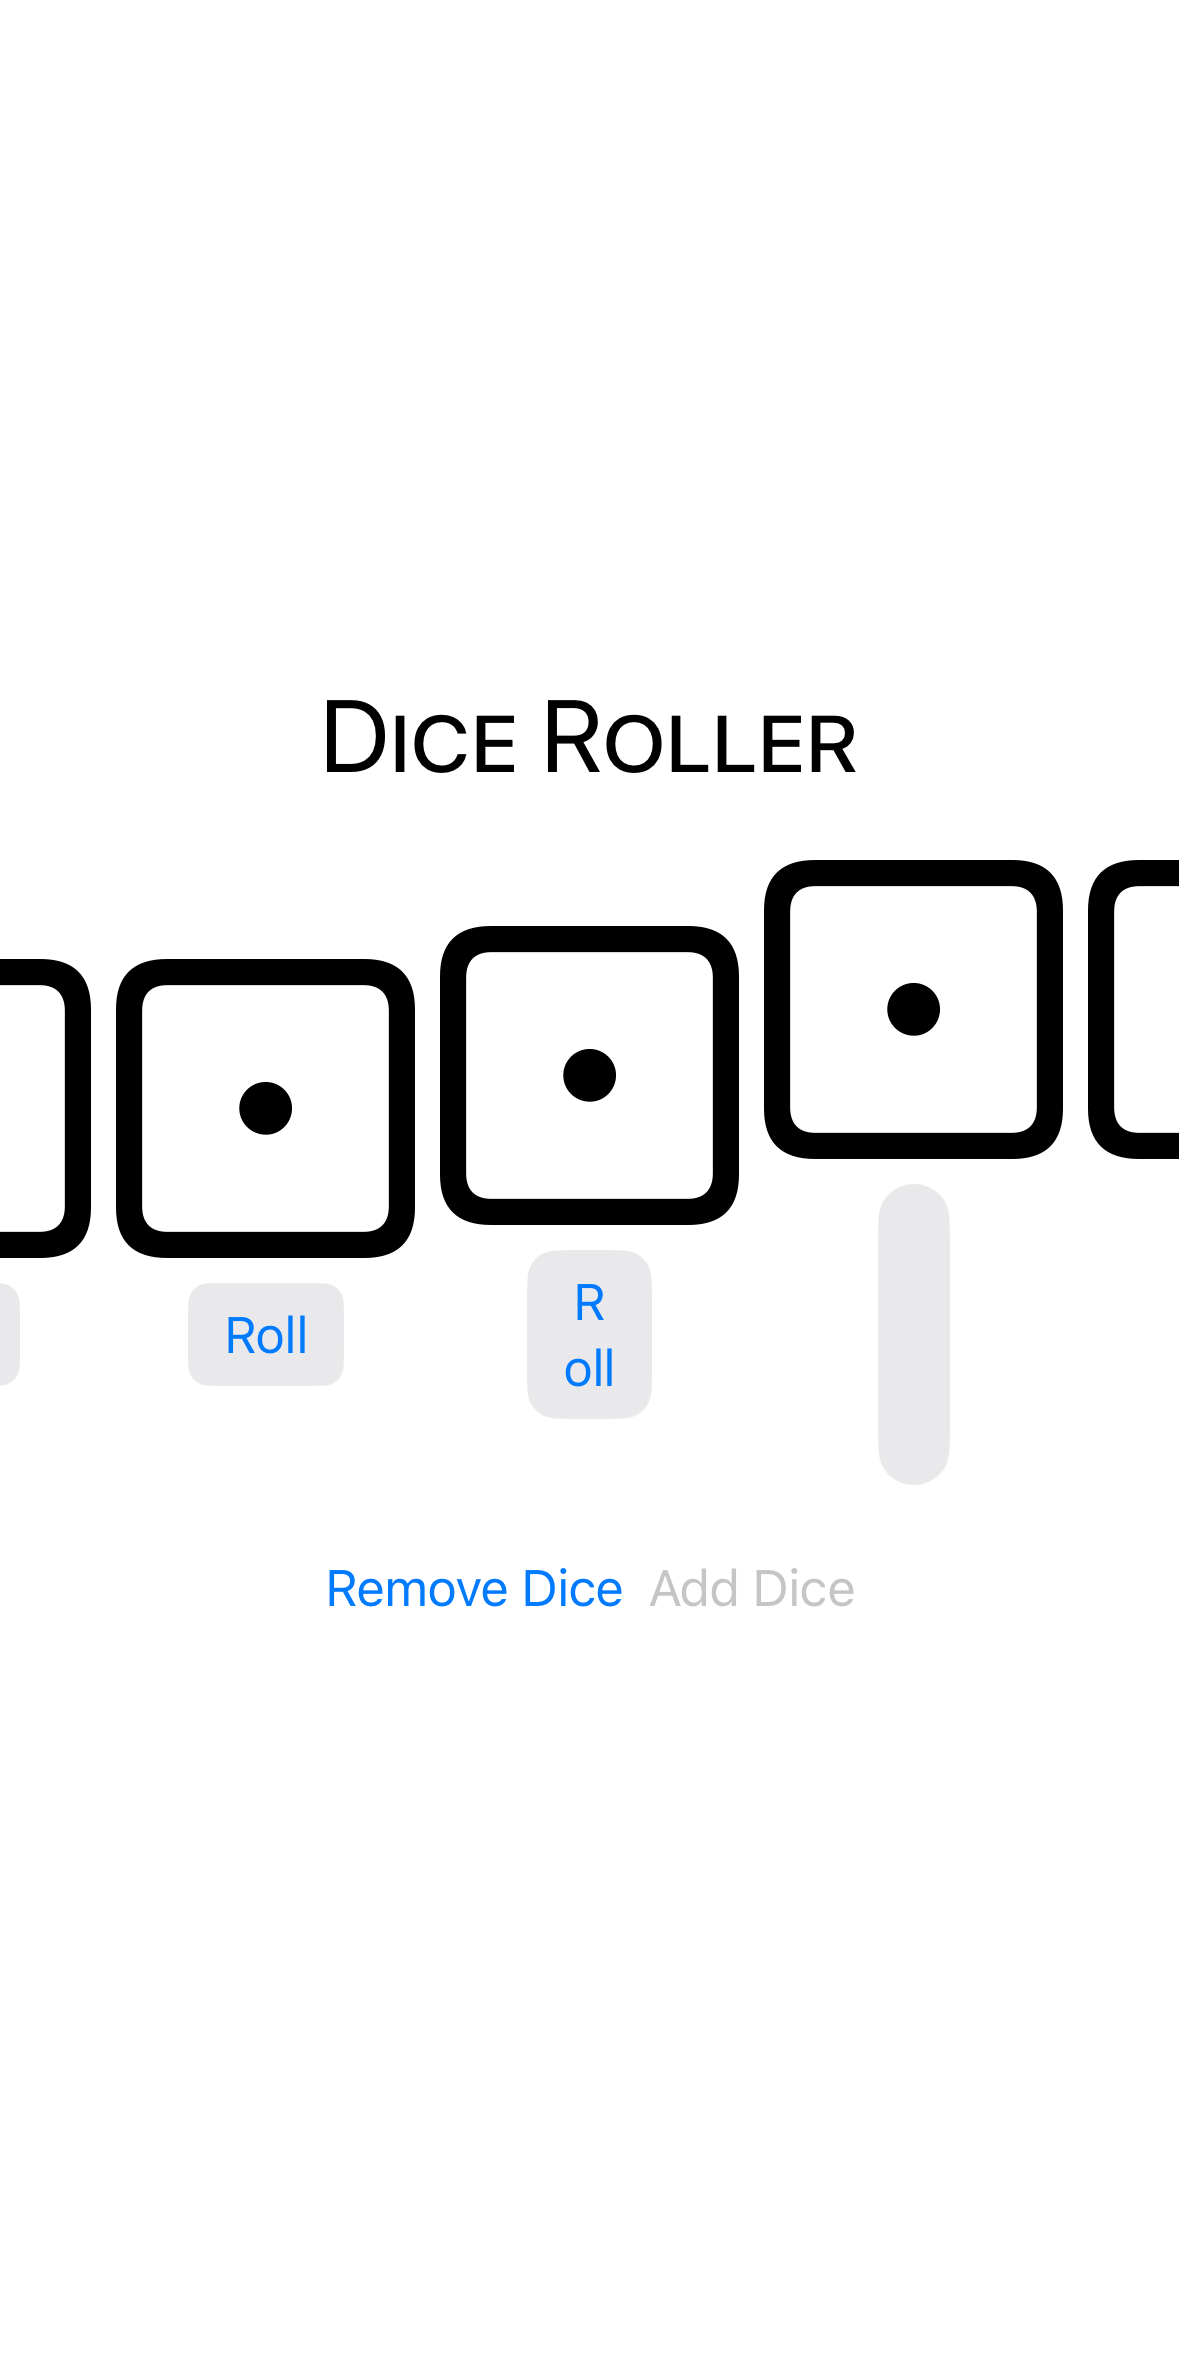
步骤 1
将骰子限制增加到五个,然后点击添加骰子,直到有五个骰子。
一个HStack视图总是会给其子视图提供所请求的大小,即使它需要超出屏幕的边界。
步骤 2
将Content预览固定,然后切换到Dice。使用灵活的框架以允许骰子图像缩小,并点击添加骰子,直到再次有五个骰子。
DiceView.swift
Image(systemName: "die.face.\(numberOfPips)")
.resizable()
.frame(maxWidth: 100, maxHeight: 100)
Button("Roll") {

步骤 3
现在骰子图像具有灵活的宽度和高度,HStack 可以将它们缩小以适应屏幕。但是当有四个或五个骰子时,由于HStack 上下没有任何限制其高度的内容,它们会在垂直方向上被拉伸。为防止这种情况,将骰子图像的纵横比设置为 1,然后点击添加骰子,直到再次有五个骰子。
1:1 或正方形的宽高比具有相等的宽度和高度。.fit 内容模式意味着如果图像的宽高比与可用空间不同,它将缩小到较小的轴,并在另一侧留出空白。
DiceView.swift
.resizable()
.frame(maxWidth: 100, maxHeight: 100)
.aspectRatio(1, contentMode: .fit)
Button("Roll") {

ContentView.swift
//
// ContentView.swift
// DiceRoller
//
//
//
import SwiftUI
struct ContentView: View {
private var numberOfDice: Int = 1
var body: some View {
VStack {
Text("Dice Roller")
.font(.largeTitle.lowercaseSmallCaps())
            HStack {
                ForEach(1...numberOfDice, id: \.description) { _ in
                    DiceView()
                }
}
            HStack {
                Button("Remove Dice") {
                    withAnimation {
                        numberOfDice -= 1
                    }
}
.disabled(numberOfDice == 1)
Button("Add Dice") {
withAnimation {
numberOfDice += 1
                    }
                }
                .disabled(numberOfDice == 5)
            }
            .padding()
}
.padding()
}
}
#Preview {
ContentView()
}
第六节
在按钮标签中使用图像
自定义添加和移除骰子按钮以显示图像而不是文本。
步骤 1
在Content中,为添加骰子按钮添加另一个参数以添加图像。
按钮显示的视图称为其标签。在许多情况下,您会使用图像和文本的组合作为按钮标签。
ContentView.swift
                .disabled(numberOfDice == 1)

                Button("Add Dice", systemImage: "plus.circle.fill") {
                    withAnimation {
                        numberOfDice += 1
步骤 2
对于这个按钮,一张图片足以告诉人们它的功能。但按钮应该始终有一个文本标签——无论是否可见——以便那些依赖于 VoiceOver 等功能的人可以使用。使用 .label 修饰符隐藏按钮文本。
尽管修饰符影响两个按钮,但“移除骰子”按钮仍然有文本标签,因为它没有图标可显示。
步骤 3
使用标题字体增大按钮大小。

步骤 4
在“移除骰子”按钮上添加一张图片。
ContentView.swift
            HStack {
                Button("Remove Dice", systemImage: "minus.circle.fill") {
                    withAnimation {
                        numberOfDice -= 1

ContentView.swift
//
// ContentView.swift
// DiceRoller
//
//
//
import SwiftUI
struct ContentView: View {
private var numberOfDice: Int = 1
var body: some View {
VStack {
Text("Dice Roller")
.font(.largeTitle.lowercaseSmallCaps())
HStack {
ForEach(1...numberOfDice, id: \.description) { _ in
DiceView()
}
}
HStack {
Button("Remove Dice") {
withAnimation {
numberOfDice -= 1
}
}
.disabled(numberOfDice == 1)
Button("Add Dice", systemImage: "plus.circle.fill") {
withAnimation {
numberOfDice += 1
}
}
.disabled(numberOfDice == 5)
}
.padding()
}
.padding()
}
}
#Preview {
ContentView()
}
第七节
改善您的应用程序设计
为按钮和骰子设置样式,并为您的应用程序设置背景颜色。

步骤 2
使用自定义颜色作为Content的背景。

步骤 3
在VStack上使用.tint修饰符,以对应用程序应用全局白色色调。
.tint 修饰符仅影响依赖于强调色的视图——通常是按钮和切换控件等。视图以不同的方式使用色调。例如,请注意,滚动按钮获得了微妙的白色背景。

步骤 4
将文本视图的颜色更改为白色,使用.foreground。
ContentView.swift
            Text("Dice Roller")
                .font(.largeTitle.lowercaseSmallCaps())
                .foregroundStyle(.white)

            HStack {

步骤 5
要使背景扩展以填充屏幕,请使用框架。
将.infinity传递给max和max参数,以便框架可以在两个方向上尽可能扩展。
ContentView.swift
        }
        .padding()
        .frame(maxWidth: .infinity, maxHeight: .infinity)
        .background(.appBackground)
        .tint(.white)

步骤 6
经典骰子是纯白色的,带有黑色的点。要使骰子面为实心,请打开 DiceView 文件并使用骰子符号名称的填充变体。
DiceView.swift
    var body: some View {
        VStack {
            Image(systemName: "die.face.\(numberOfPips).fill")
                .resizable()
                .frame(maxWidth: 100, maxHeight: 100)

步骤 7
将骰子的前景色设置为白色。请注意,这将骰子变为白色,但点数保持透明。
DiceView.swift
                .frame(maxWidth: 100, maxHeight: 100)
                .aspectRatio(1, contentMode: .fit)
                .foregroundStyle(.white)

            Button("Roll") {

步骤 8
要将点变为黑色,请使用两种前景色:一种主色和一种副色。使用.foreground修饰符将主色设置为黑色,副色设置为白色。
您正在看到 SF Symbol palette 渲染模式的效果。对于填充的骰子符号,点数采用主色,而其余部分则采用次色。
DiceView.swift
                .frame(maxWidth: 100, maxHeight: 100)
                .aspectRatio(1, contentMode: .fit)
                .foregroundStyle(.black, .white)

            Button("Roll") {

问题 1 的 3
选择关于视图状态的正确陈述。
下一个
Read article
总结:按钮和状态
Buttons, state, and closures are key components of SwiftUI. They enable your app to respond to user actions, which lets you create powerful and expressive interfaces.